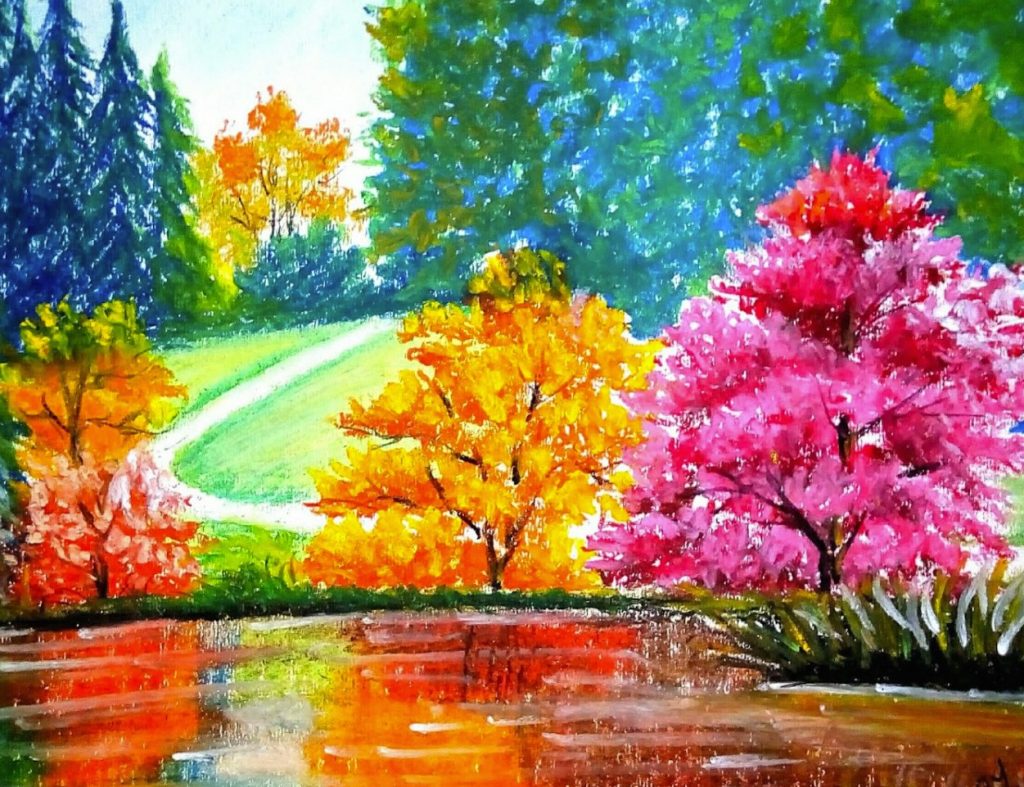
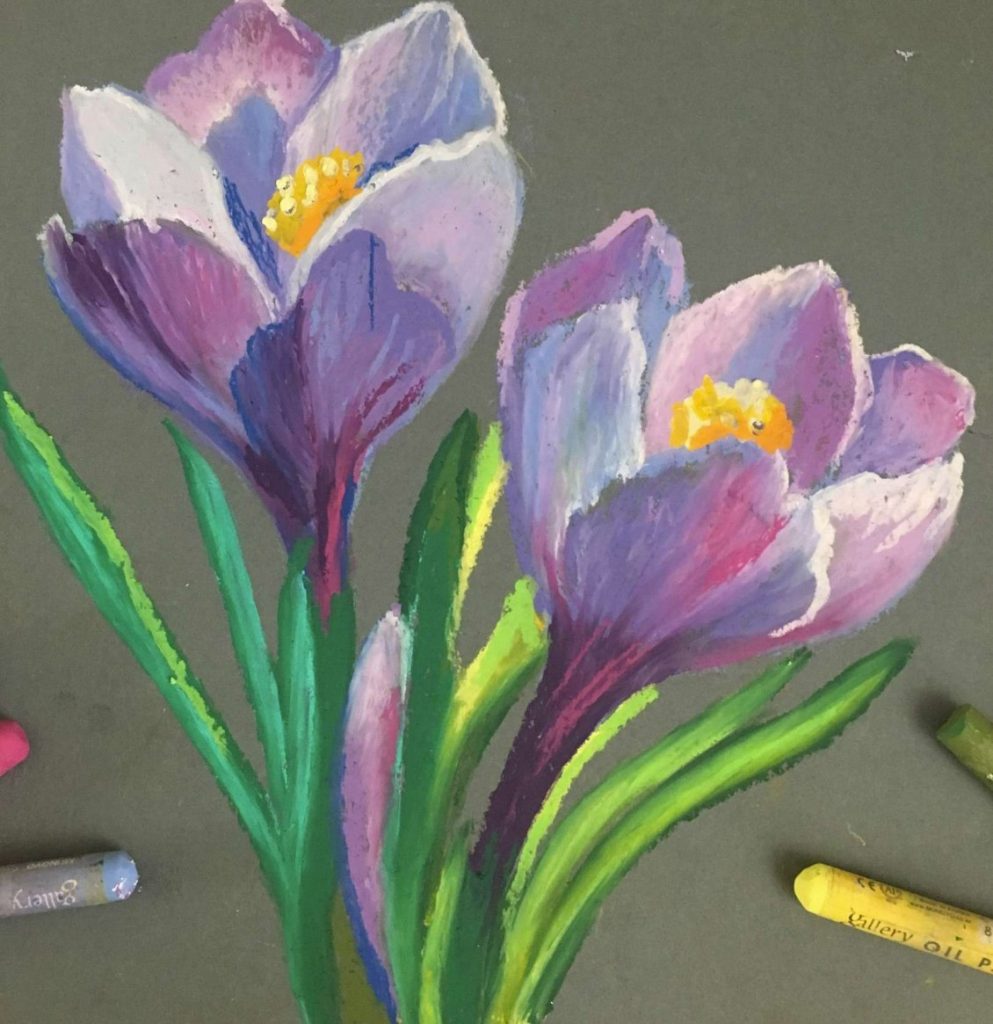
Oil pastels offer a vibrant and forgiving introduction to the world of art. Their smooth texture, easy blending, and rich colors make them perfect for beginners who want to experiment and create. This guide will equip you with the essentials of oil pastel drawing, from gathering your supplies to exploring fundamental techniques.
Part 1: Getting Started with Oil Pastels

1. Essential Supplies
Oil Pastels: Choose a beginner-friendly set with a range of colors. Soft pastels are ideal for blending, while harder pastels offer sharper lines. Popular brands include Crayola, a budget-friendly option, and Sakura, known for their smooth application.
Paper: Heavyweight, sanded pastel paper is your best bet. It provides the right tooth (texture) for pastels to adhere and creates a smooth blending surface. Look for Canson Mi-Teintes or Strathmore Pastel papers.
Blending Tools: While your fingers are great for basic blending, consider using blending stumps (tightly rolled paper) or tortillions (pointed paper cones) for smoother blending and creating textured effects.
2. Choosing Your Subject and Composition
Finding inspiration for your oil pastel artwork can be as simple as looking around you. Everyday objects, still lifes, or even your favorite cartoon characters can serve as great subjects, especially for beginners. Keep it simple and focus on capturing basic shapes and colors to build your confidence and skills. Once you have found your inspiration, taking the time to plan your artwork is important for creating a strong and visually appealing composition. A simple yet effective technique is to divide your paper into thirds both horizontally and vertically, creating nine sections. This strategy, known as the rule of thirds, provides a guideline for placing your main subject along one of the intersecting lines. By following this method, you can create a visually pleasing and balanced composition, which forms a strong foundation for your oil pastel artwork. Planning and executing your artwork thoughtfully can greatly enhance the overall impact and visual appeal, allowing you to create compelling and harmonious pieces.

Part 2: Applying Color and Blending
1. Layering and Building Form
Light and Base Colors: Start by sketching a light outline of your subject with a pencil. Then, begin applying light layers of color, blocking in the basic shapes. Overlap colors slightly to create a smooth transition between them.
Building Shadows and Highlights: Once you have the base colors down, define the form by adding darker tones for shadows and lighter colors for highlights. Pay attention to the direction of your light source for realistic shadow placement.
2. Blending Techniques
Blending is key to achieving a seamless look in your oil pastel drawings. Here are two effective methods:
Finger Blending: This is a simple and effective technique for beginners. Use clean fingers to gently rub and blend colors together while the oil pastel is still fresh. Start with light pressure and gradually increase for a more intense blend.
Tool Blending: For more controlled blending, especially in small areas, use blending tools like stumps and tortillions. Move the tool in a circular motion or back and forth to achieve smooth transitions.
Part 3: Experimenting with Texture and Details

1. Adding Texture
Hatching and cross-hatching are fundamental techniques in oil pastel art that can be used to create texture, depth, and visual interest in your artwork. To execute hatching, you simply apply short, parallel lines with your pastel. By changing the direction of the lines, you can effectively create a variety of textures, such as fur, grass, or brick walls. Cross-hatching involves layering sets of parallel lines at different angles, intensifying the textural effect. On the other hand, scumbling is another effective technique where you gently apply light strokes of color in a circular motion. This method creates a soft, textured effect and is particularly useful for depicting elements such as clouds, smoke, or distant objects. By incorporating these techniques into your work, you can add depth, dimension, and a tactile quality to your oil pastel creations, enhancing their visual appeal and expressive impact.
2. Refining Your Artwork
Once you are satisfied with the overall form and texture of your oil pastel artwork, it is time to focus on adding finer details and accents to bring your piece to life. To achieve this, use a sharpened pastel pencil or a harder oil pastel to add intricate elements such as eyes, wrinkles, or patterns. By paying attention to these finer details, you can enhance the realism and expressiveness of your artwork, adding depth and personality to your subject. Additionally, incorporating highlights and finishing touches can elevate the visual impact of your piece. Utilize a white or light-colored pastel to add final touches and highlights, adding a touch of sparkle to your composition. Whether it’s creating a glint of light in the eyes, highlighting a focal point, or adding subtle reflections on surfaces, these finishing touches can draw attention to specific areas and create a compelling visual contrast, ultimately enriching the overall visual appeal of your oil pastel masterpiece.

Part 4: Practice Makes Progress!
1. Keeping the Momentum Going
Drawing regularly is essential for improving your skills with oil pastels. The more you practice, the more comfortable and confident you will become with the medium. Try to set aside dedicated time each day for drawing, even if it’s just for a short sketch. This regular practice will help you develop your techniques, experiment with different styles, and refine your artistic vision. Additionally, it’s crucial to embrace mistakes. Don’t be afraid to experiment and make errors, as this is all part of the learning process. One of the advantages of oil pastels is their blendability, allowing you to easily fix or blend away imperfections. By welcoming and learning from your mistakes, you can discover new techniques, refine your approaches, and grow as an artist. Remember, each mistake is an opportunity to learn and improve, so enjoy the process and embrace the journey of artistic development.
2. Expanding Your Skills

Explore New Techniques: There are many fun techniques to explore with oil pastels, like scratching the surface with a tool to reveal underlying colors, or using stencils to create shapes.
Seek Inspiration: Look at artwork by other oil pastel artists and see how they use the medium. This can give you new ideas and inspire you to create your own unique style.
With this guide and a little practice, you’ll be well on your way to creating beautiful and expressive art with oil pastels!


