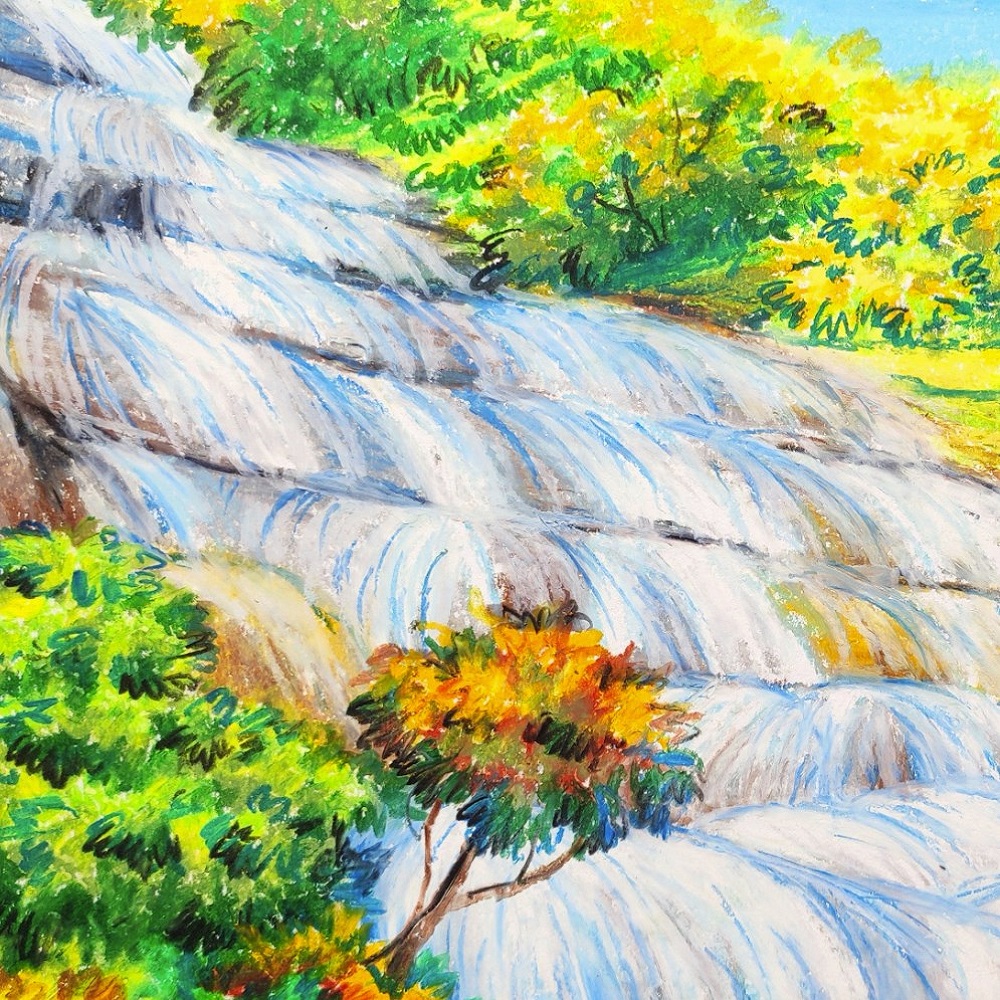
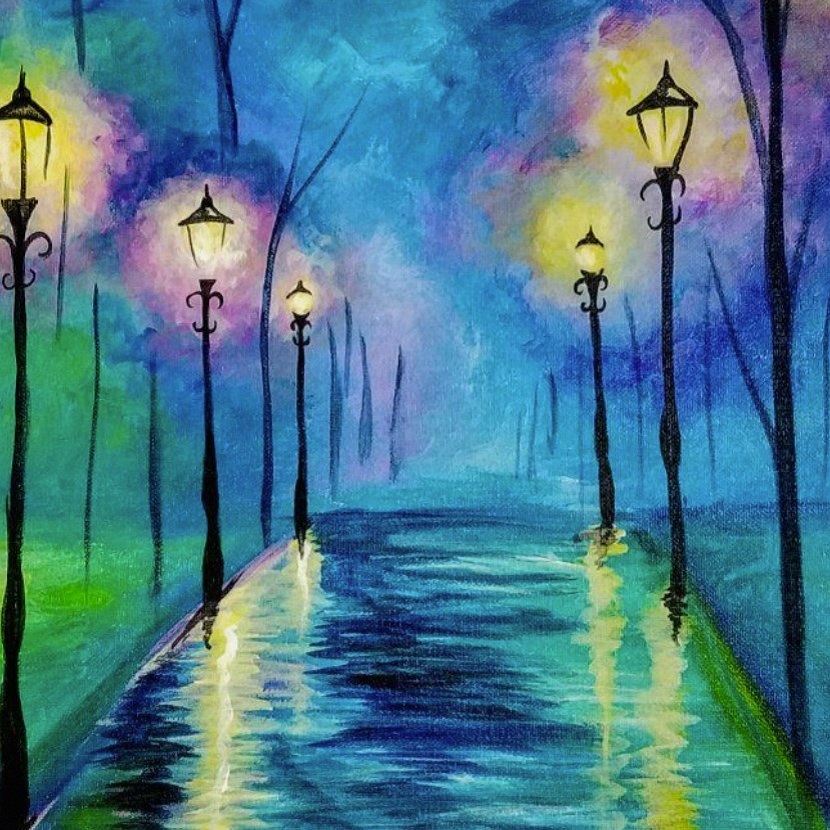
Oil pastels are lauded for their vivid colors and smooth texture, making them a popular choice for artists of all skill levels. However, unlocking their full potential lies in mastering the art of blending. Seamless transitions and soft effects elevate your artwork from simple coloring to captivating artistry. This guide delves into various blending techniques, transforming you from a beginner to a blending pro.
Part 1: The Tools of the Trade – Blending Implements for Success
Your Fingers: The Natural Touch:
The most readily available blending tool for oil pastels is your own fingers, making them a convenient and versatile choice for blending. The natural warmth of your fingers helps to soften the oil pastels, allowing for smooth blending and effortless application. You can use your fingertips for blending in smaller, more delicate areas, allowing for precise control and intricate blending. For broader strokes and when blending larger sections, the pad of your thumb can be employed effectively.
While using your fingers as blending tools is advantageous, it’s important to remember to clean your fingers regularly, particularly when working with different colors. This prevents unwanted color transfer between areas and ensures that your blends remain clean and crisp. Embracing this simple yet effective blending technique enables you to have greater control and precision when working with oil pastels, resulting in beautifully blended and expressive artwork.

Blending Stumps and Tortillons: Precision Blending:
Blending stumps and tortillons are indispensable tools for achieving precise and controlled blending when working with oil pastels. These cylindrical tools, typically made of compressed paper or chamois (soft leather), offer artists more control and precision compared to using their fingers. The pointed tip of a blending stump or tortillon is especially well-suited for detailed blending, allowing artists to work on intricate areas and add delicate touches to their artwork. Conversely, the broader side of the tool is ideal for blending larger areas, facilitating smooth transitions and seamless gradations within the artwork.
In order to ensure optimal performance, it is crucial to sharpen your blending stumps and tortillons regularly using sandpaper. This practice helps maintain a fine point and a smooth surface, which are essential for achieving precise and controlled blending results.
Mastering the use of blending stumps and tortillons not only allows artists to achieve professional-level blending techniques but also opens up new avenues for artistic expression. Embracing these tools empowers artists to unlock their creativity and refine their oil pastel artwork, adding a layer of sophistication and finesse to their creations.
Part 3: Techniques Unveiled – A Blending Masterclass
Layering and Blending:
Layering colors is a fundamental and versatile technique that can greatly enhance the visual impact of your oil pastel artwork. By layering colors, artists can achieve smooth transitions and add depth to their creations. To start, apply a base layer of your desired colors, leaving some space for blending and adding additional hues. Working with your chosen blending tool, like your fingers or a blending stump, gently blend and soften the edges to create a seamless and gradual shift between the colors, allowing for a harmonious transition.
As you progress, you can build upon the existing layers by adding additional colors on top. This technique enables you to create deeper tones, enrich the color palette, and achieve richer effects, adding complexity and visual interest to your artwork. Experimenting with layering allows artists to explore the versatility of oil pastels and unleash their creativity, resulting in a unique and vibrant look.

With practice and experimentation, artists can master the art of layering, creating stunning and dynamic artworks with oil pastels. By refining this technique, artists can achieve intricate and captivating compositions, transforming their oil pastel pieces into engaging and visually striking works of art.
Solvent Blending for a Dreamy Effect:
To achieve an even smoother and more dreamlike blend in your oil pastel artwork, artists have the option to explore the technique of solvent blending. This advanced method involves using a colorless solvent, such as odorless mineral spirits, which is readily available at art stores. To begin, sparingly apply the solvent on a cotton swab or makeup sponge, ensuring that it’s not overly saturated. Lightly dab the solvent on the areas you want to blend, allowing it to interact with the oil pastels and soften the pigments.
Once the solvent has been applied, use a blending tool or a clean brush to gently work the softened pastels, creating seamless transitions and achieving a soft, ethereal effect in your artwork. It’s essential to work in a well-ventilated area when using solvents and to exercise caution in their application, using them sparingly to avoid excessive saturation and preventing potential damage to the paper or the weakening of oil pastel strokes.
By mastering the technique of solvent blending and understanding the importance of utilizing solvents with care, artists can elevate the look and feel of their oil pastel creations. Through this method, breathtaking and professional-level blending effects can be achieved, adding a refined and sophisticated quality to the artwork. This technique provides artists with an exciting opportunity to explore new dimensions of creativity and elevate their oil pastel pieces to new heights.

Part 4: Advanced Blending Strategies – Taking Your Art to the Next Level
Selective Blending for Defined Edges:
Strategic blending is an essential skill when working with oil pastels, offering artists a powerful means to enhance the depth and detail of their artwork. By strategically blending specific areas rather than opting for complete blending, artists can effectively define shapes and add complexity to their creations. For example, blending colors in targeted areas while preserving sharp edges can create a sense of realism, allowing for the capture of intricate details and the creation of foreground objects with heightened definition. Using a light touch with a blending tool, such as fingers, a blending stump, or a tissue, is vital to maintain clean lines and to preserve the integrity of shapes and delicate details.
Mastering the art of strategic blending empowers artists to produce impactful and visually engaging art pieces with oil pastels. Experimenting with this technique not only enhances artistic expression but also brings depth and sophistication to the artwork. As artists refine their ability to strategically blend, they discover new ways to elevate their creations and imbue their work with nuanced and captivating elements.
Color Shapers and Masks for Creative Blending:
Color shapers, which are small, firm tools made of silicone or plastic, can be incredibly useful for artists working with oil pastels. They are particularly ideal for blending in tight spaces or creating unique textures within their artwork. The various shapes of color shapers allow for precise blending and controlled manipulation of the oil pastel, giving artists a high level of control over their artistic expression.
In addition to color shapers, artists can use masks to protect certain areas while blending others, helping them achieve clean and defined shapes in their work. Artists can cut these masks from stencils or paper to create specific designs, embellishments, or textures in the artwork.By using color shapers and masks in combination, artists can explore new techniques and expand their creative possibilities with oil pastels, ultimately adding depth and intricacy to their artistic creations.
By mastering these blending techniques, you unlock the full potential of oil pastels. Experiment with different tools and approaches to discover what works best for you. Remember, practice makes perfect. So, grab your oil pastels, unleash your creativity, and embark on a journey of masterful blending!


