Introduction to Shower Caddy Adhesive
Understanding how to remove shower adhesive starts with knowing what you’re dealing with. Shower caddies are essential for organizing your bathing essentials, but the adhesives that hold them can sometimes be a challenge to remove without the correct approach and knowledge.
Types of Adhesives Used in Shower Caddies
Various types of adhesives are used in shower caddies, each with unique properties. The most common types include suction cups, silicone adhesives, and double-sided tapes. Suction cups are ideal for smooth surfaces and are easy to remove. Silicone adhesives provide a stronger hold and are water-resistant, making them suitable for wet bathroom environments. Double-sided tapes offer a balance between ease of installation and strength of hold.
Common Challenges with Shower Caddy Adhesive Removal
Removing shower caddy adhesive can present several challenges. Residue from the adhesives can be tough to eliminate, especially if they have been in place for a long time. The surface material of your wall or shower can also impact the removal process; delicate surfaces require more cautious methods to avoid damage. Additionally, incomplete removal of adhesive can leave unsightly marks or even cause damage, which is another concern to address during the process.
Preparing for Adhesive Removal
Proper preparation is key in how to remove shower caddy adhesive effectively and safely. Planning ahead can make the process smoother and less likely to cause damage to your bathroom surfaces.
Tools and Materials Needed
To start, gather all necessary tools and materials. You’ll need:
- A hair dryer or heat gun to soften the adhesive.
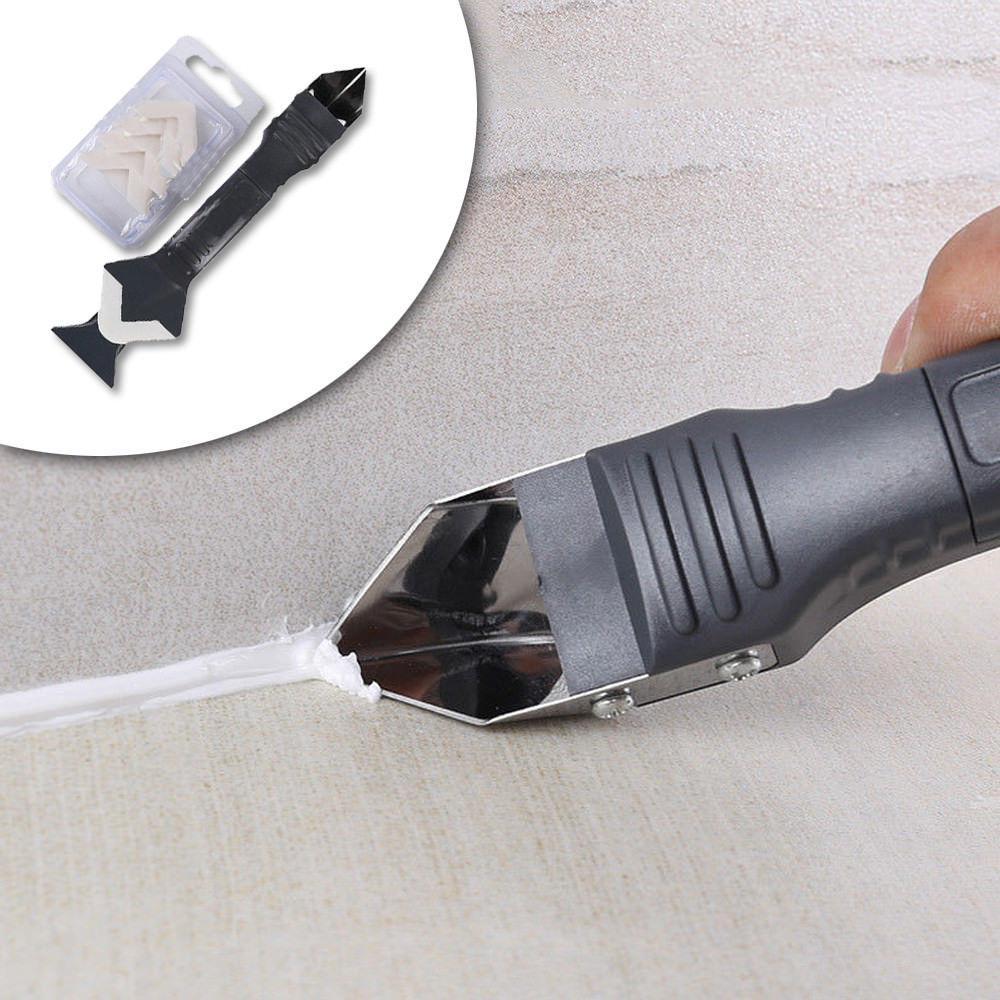
- A plastic scraper or a putty knife to peel off the adhesive without scratching surfaces.
- Adhesive remover or rubbing alcohol for cleaning residue.
- Clean cloths or paper towels for wiping surfaces.
- Gloves to protect your hands.
These tools help ensure that you can handle the adhesive without causing damage or residue.
Safety Precautions to Consider
Safety is paramount when removing shower caddy adhesive. Always:
- Work in a well-ventilated area to avoid inhaling fumes from adhesive removers.
- Wear gloves to protect your skin from harsh chemicals.
- Keep tools and chemicals out of reach of children and pets.
- Follow manufacturer’s instructions carefully when using chemical removers.
Taking these precautions helps prevent accidents and health issues during the adhesive removal process.
Step-by-Step Guide to Removing Shower Caddy Adhesive
Removing shower caddy adhesive requires careful steps for effective results. Follow this guide to ensure a smooth, damage-free process.
Step 1: Softening the Adhesive
First, you need to soften the adhesive to make it easier to peel off. Apply heat using a hair dryer or a heat gun. Aim the heat source at the adhesive for several minutes. Keep it moving to prevent damage to the surface.
Step 2: Scraping Off the Adhesive
Once the adhesive is soft, use a plastic scraper or a putty knife to gently peel it off. Start from the edges and work your way inwards. Be gentle to avoid scratching the surface.
Step 3: Cleaning the Surface
After removing the adhesive, clean the surface to remove any residue. Use adhesive remover or rubbing alcohol and a clean cloth. Wipe the area thoroughly until it is clean. This step ensures your surface is prepared for future use without adhesive issues.
Chemical Methods for Removing Adhesive
When the non-chemical methods fall short, it’s time to consider chemical removers for how to remove shower caddy adhesive. Chemical removers often offer a strong solution for stubborn residue that won’t budge with physical methods alone.
Types of Chemical Removers
Several chemical removers are available in the market. Here’s a rundown of some common types:
- Acetone: This solvent works well on many adhesives. However, use it with caution as it can discolor some surfaces.
- Goo Gone: A popular product that is designed specifically to tackle sticky residues.
- Adhesive Remover Sprays: These are convenient and often come with a scraper tool.
- WD-40: Many people don’t know that WD-40 can also help dissolve adhesives.
It’s important to pick a remover that is compatible with your bathroom surface to prevent damage.
Tips for Using Chemical Removers Safely
Using chemical removers requires care to ensure safety and effectiveness. Here are some tips:
- Test a Small Area: Before applying widely, test the chemical on a small, inconspicuous area of the surface.
- Use Protective Gear: Always wear gloves and, if possible, eye protection.
- Follow Instructions: Read the product’s directions and follow them closely.
- Ventilation is Key: Work in a space with plenty of air flow to avoid inhaling fumes.
- Dispose Properly: After use, make sure to dispose of any chemical-soaked materials responsibly.
Chemical removers can help achieve a clean surface ready for your next shower caddy installation, provided you use them correctly and safely.
Natural Solutions for Adhesive Removal
If you prefer a more environmentally friendly approach, natural solutions for how to remove shower caddy adhesive can be quite effective. These methods minimize the use of harsh chemicals and are often more gentle on surfaces, making them a great alternative for those with sensitivities or concerns about chemical exposure. Let’s explore a couple of natural methods that can help you tackle adhesive residue.
DIY Adhesive Remover Recipes
Creating your own adhesive remover is simple and you might already have the ingredients at home. Here are two recipes to try:
- Vinegar Solution: Mix equal parts of vinegar and water, apply it to the adhesive, let it sit for a few minutes, then scrub gently.
- Baking Soda Paste: Make a paste with baking soda and coconut oil, apply to the area, wait for it to penetrate, and then wipe away.
Both these methods leverage ingredients that are common in households and are known for their natural cleaning properties. Remember to test these on a small spot first to ensure they don’t damage your surface.
Benefits of Using Natural Solutions
Natural adhesive removers aren’t just safer for the environment; they have several other benefits as well:
- Non-toxic: They are safer for people and pets as they don’t release harmful chemicals into the air.
- Surface Safety: These solutions are less likely to harm bathroom surfaces compared to harsher solvents.
- Cost-Effective: Often, you can make them with items already in your pantry, saving money.
- Health Benefits: Reduced exposure to chemicals is always better for your overall health.
Incorporating these natural solutions into how to remove shower caddy adhesive can keep your bathroom clean and minimize chemical usage in your home.
Preventing Future Adhesive Issues
After learning how to remove shower caddy adhesive, prevention is key. Ensure you don’t face the same problems by choosing the right products and following proper installation methods.
How to Choose Quality Shower Caddies
Selecting the right shower caddy is crucial for minimizing future adhesive issues. Here are some tips to consider:
- Check Material Quality: Look for shower caddies made from durable materials like stainless steel or waterproof plastic.
- Adhesive Type: Choose caddies with high-quality adhesives known for their long-lasting hold and easy removal.
- Size and Weight Capacity: Ensure the caddy can comfortably hold your items without straining the adhesive.
- Reviews and Recommendations: Read user reviews and seek recommendations to find products that have proven reliable.
Tips for Adequate Installation and Maintenance
Proper installation and maintenance can prevent future problems. Follow these guidelines:
- Surface Preparation: Clean and dry the installation area thoroughly before applying the adhesive.
- Careful Installation: Follow the manufacturer’s instructions for applying the adhesive to ensure optimal adhesion.
- Regular Checks: Periodically check the adhesive’s hold and reapply or replace it if necessary.
- Gentle Use: Avoid putting excessive weight on the shower caddy or pulling it aggressively.
By making informed choices and adhering to proper installation and maintenance techniques, future adhesive issues with shower caddies can be greatly minimized.
Conclusion
In this blog, we’ve explored how to remove shower caddy adhesive safely and easily. We’ve discussed different adhesive types, challenges, preparation tips, a step-by-step removal guide, chemical solutions, and natural alternatives. Preventative measures and tips for selecting and maintaining shower caddies have also been covered to help avoid future adhesive issues.
Review of Key Points
- Start by identifying the adhesive type and selecting the proper removal method.
- Gather the necessary tools and prioritize safety when working with adhesives.
- Soften the adhesive with heat, scrape gently, then clean the surface thoroughly.
- For stubborn residues, chemical removers can be effective when used safely.
- Opt for natural solutions like vinegar or baking soda for an eco-friendly approach.
- Choose high-quality shower caddies and install them correctly to prevent future issues.
Additional Resources
For more tips on bathroom maintenance or adhesive removal techniques, consider checking out home improvement blogs, DIY forums, or manufacturer websites. They often provide valuable insights and in-depth tutorials that can assist with your bathroom upkeep projects. Remember, taking the time to remove adhesives properly now will save you effort and potential surface damage in the future.
