Introduction to Alcohol Markers
Alcohol markers are a popular choice for artists who appreciate vibrant, blendable colors. These markers stand out because of their unique ink formulation. The ink they contain is alcohol-based rather than water-based like traditional markers. The alcohol in the ink provides a smooth, polished look once it dries. It dries quickly, reducing the risk of smudging. This allows artists to work fast and build layers of color. Alcohol markers come in a wide range of hues and tip sizes. They’re perfect for illustration, manga, and various forms of mixed media art.
The versatility is a big draw for artists. With alcohol markers, one can achieve gradients and seamless color transitions. They work well on different surfaces, including paper and vellum. The ink is also waterproof and does not fade easily over time. This long-lasting attribute makes finished artworks endure. Alcohol markers can be more expensive than other types, but many artists find the investment worthwhile.
Using alcohol markers needs a bit of practice, but once mastered, they can unlock vast creative potential. The key to success is understanding how to handle them. This ranges from blending techniques to proper storage. In the upcoming sections, we’ll go deeper into how to choose and use alcohol markers effectively. We’ll also explore maintenance tips and project ideas to inspire your next masterpiece.
The Benefits of Using Alcohol Markers in Art
Alcohol markers offer artists a host of advantages that make them a favored choice in the art community. Their benefits elevate the art-making experience, from hobbyists to professionals. Here’s what sets these markers apart:
- Vivid Colors: The pigments in alcohol-based ink are notably saturated. They ensure your work pops with eye-catching vibrancy. Colors stay bright and resist fading over time. This adds a dynamic quality to every piece you create.
- Quick Drying: The alcohol content allows for swift drying. You can add new layers without waiting long periods. This reduces smudging, allowing for clean and sharp art.
- Seamless Blending: One of the key strengths of alcohol markers is seamless color transitions. Artists can create smooth gradients that are hard to achieve with water-based markers. Blending becomes an effortless task, leading to impressive effects.
- Durable and Waterproof: Unlike water-soluble inks, alcohol marker ink won’t smudge when exposed to moisture. Artworks remain pristine. The waterproof quality of alcohol ink extends the life of your pieces.
- Versatility on Surfaces: Alcohol markers work well on various surfaces. This includes glossy paper, vellum, and even plastics. It widens the scope for creative applications across different media.
- Excellent Layering: Artists can build layers of ink to increase depth in their work. The ink layers do not compromise the paper’s integrity or lead to pilling.
These benefits show why alcohol markers are essential in many artists’ toolkits. They enable you to execute visions with clarity and brilliance. In the following sections, we’ll delve into choosing the right alcohol markers and techniques to make the most of these advantages.

How to Choose the Right Alcohol Markers
Choosing the right alcohol markers is key to achieving the desired artistic results. Here are the main aspects to consider when selecting your markers:
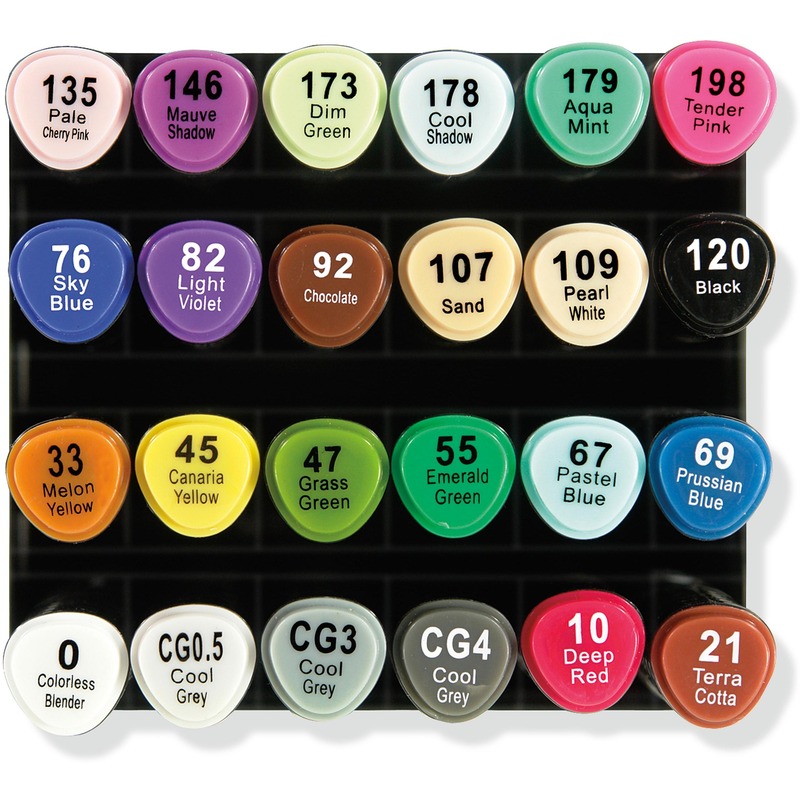
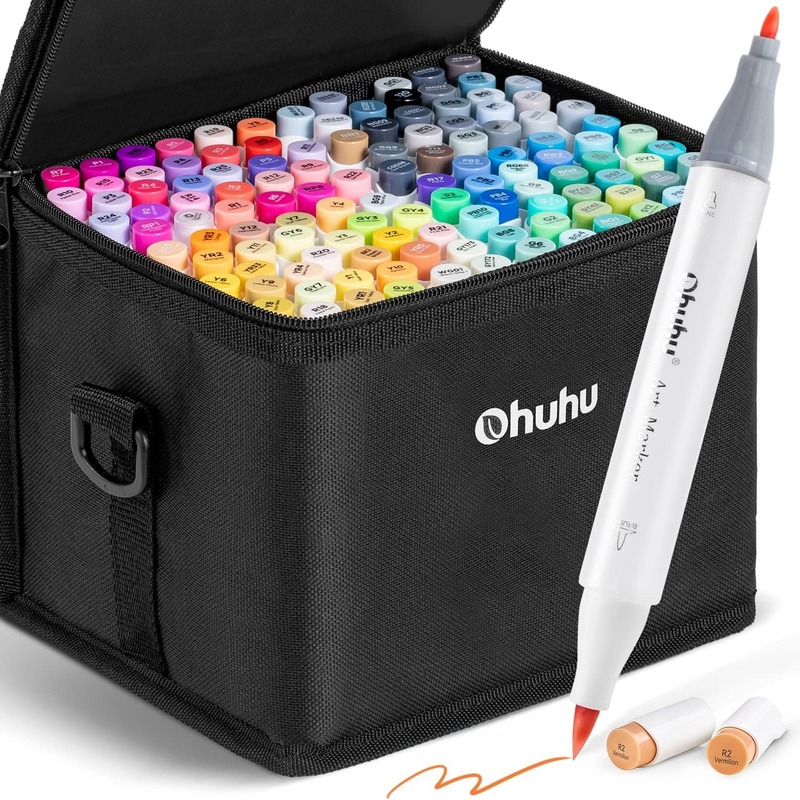
- Color Range: Look for a set that offers a wide variety of colors. This ensures you have the shades needed for your art. A good set should also provide a range of light to dark tones for better blending.
- Tip Types: Markers come with different tips, from fine to broad. Some have dual tips with different sizes on each end. Consider what line weights and details you’ll be working with.
- Ink Quality: High-quality ink means better color payoff and longevity. Research the brands and read reviews. Pay attention to color consistency and how the ink holds up over time.
- Comfort and Design: How the marker feels in your hand is important, especially for long art sessions. Look for markers with an ergonomic design.
- Price Point: Alcohol markers can be expensive. Decide on a budget that matches your level of seriousness in art. Sometimes starting with a smaller set of basic colors is best.
- Refillability: Some markers allow for ink refills. If sustainability and long-term cost are concerns, consider markers with refill options.
- Compatibility: Make sure the markers work well with the types of paper or other surfaces you’ll be using. Not all markers perform the same on every surface.
- Brand Reputation: Choosing a reputable brand ensures you have access to quality products and customer support. Look for brands known for their alcohol markers.
Picking the right alcohol markers requires understanding your needs and preferences. Balance quality, price, and the specific features you value. With the right selection, your artwork can truly stand out.
Techniques for Blending and Layering
Mastering the techniques for blending and layering is crucial when using alcohol markers. These skills are what set advanced users apart from beginners. Proper blending creates smooth transitions, while effective layering enhances depth and texture. Here’s how to make the most of these techniques:
- Start with Light Colors: Begin your artwork using lighter shades. It’s easier to darken a space gradually than to lighten it.
- Use a Blending Marker: A clear blending marker helps to merge colors seamlessly. Apply it where two colors meet.
- Work Fast: Alcohol ink dries quickly. Blend colors while the ink is still wet for best results.
- Layer in Stages: Build your layers one at a time. Let each layer dry slightly before adding the next.
- Overlap Strokes: When applying color, overlap your strokes. This avoids harsh lines and promotes even blending.
- Keep Paper Quality in Mind: Use thick, smooth paper designed for alcohol markers to prevent bleeding and ensure smooth blends.
- Understand Color Relationships: Use a color wheel to see which colors blend well together. Colors close to each other on the wheel blend more easily.
- Practice Gradients: Experiment with creating gradients from one color to another. It’s a fundamental skill in mastering blending with alcohol markers.
Get comfortable with these blending and layering techniques as you continue to explore the possibilities of alcohol markers. Practice regularly, and don’t be afraid to experiment with different combinations and pressures. With patience and persistence, you’ll see your art improve significantly.

Tips for Maintaining Alcohol Markers
Maintaining your alcohol markers is crucial for ensuring their longevity and performance. Here are some tips to keep them in top condition:
- Cap Tightly After Use: Always replace the cap firmly. This prevents the alcohol ink from drying out.
- Store Horizontally: Laying markers flat helps maintain even ink flow to both ends of dual-tip markers.
- Avoid Direct Sunlight: Store your markers away from sunlight to prevent the ink from fading.
- Clean Tips Regularly: Ink buildup can affect performance. Wipe tips with a cloth after use.
- Use the Right Paper: Heavy-weight paper absorbs ink better and prevents fraying of the marker tips.
- Check for Refills: If your markers are refillable, keep an eye on ink levels and refill as needed.
- Replace Tips if Necessary: Some brands offer replaceable nibs for when they become worn.
- Keep Lids Color Coded: Match cap colors accurately to avoid mixing up shades.
- Avoid Dropping: Dropping can damage the tips or cause ink to leak.
- Test Colors: Occasionally test colors on scrap paper to check for any changes in hue.
Following these maintenance tips can extend the life of your alcohol markers and ensure that your artwork continues to be vibrant and beautiful. Regular care keeps your tools ready for whenever inspiration strikes.
Essential Supplies for Working with Alcohol Markers
To make the most of your alcohol markers, there are some key supplies you’ll need:
- High-Quality Paper: Choose strong, bleed-proof paper specific to alcohol markers. It will take many layers without pilling.
- Blending Tools: Get a blending pen for merging colors without hassle. Also, keep a clean palette for mixing custom shades.
- Fine Liners: Use fine liners that won’t smear under alcohol ink. They’re perfect for details and won’t ruin your work.
- Colorless Blender: A clear blender smooths transitions and softens edges. It’s like an eraser for alcohol markers.
- Storage Solutions: Invest in storage that keeps markers horizontal. This helps the ink flow evenly.
- Paper Trimmer: A trimmer gives your projects clean, straight edges. It’s great for cutting down paper to the perfect size.
Gathering these supplies helps you prepare for creating art with alcohol markers. With the right tools, your art will look polished and professional.

Examples of Artistic Projects Using Alcohol Markers
When it comes to the creative world, alcohol markers shine in a variety of projects. Here are some examples where these vibrant tools excel:
- Character Illustrations: Many comic artists and illustrators turn to alcohol markers for character work. They lay down rich, flat areas of color and precise details with ease.
- Fashion Design Sketches: The markers are ideal for rendering fabrics and creating bold fashion statements. Their ability to blend makes for realistic textures.
- Architectural Renderings: Fine lines and broad strokes with alcohol markers help architects bring their blueprints to life. They achieve depth and perspective with the layering capabilities.
- Concept Art: For visualizing ideas, concept artists use alcohol markers to quickly convey mood with color.
- Portraiture: Smooth skin tones and subtle shade transitions are all possible with careful blending in portraiture.
- Scrapbooking: Embellishing scrapbook pages with alcohol markers adds a personal and colorful touch to memories.
- Card Making: Handmade cards get a professional polish with the defined edges alcohol markers provide.
- Calligraphy and Lettering: The varying tip sizes are perfect for creative lettering projects, with crisp lines and rich colors.
These are just a few examples of the many projects alcohol markers can enhance. With practice, artists can adapt the markers to almost any artistic endeavor. Their versatility is limited only by the creator’s imagination.
Alcohol Marker Brands and Their Unique Features
When deciding on which alcohol markers to add to your artistic toolkit, the brand can be as important as the marker itself. Here are a few reputable brands that are renowned for their unique features:
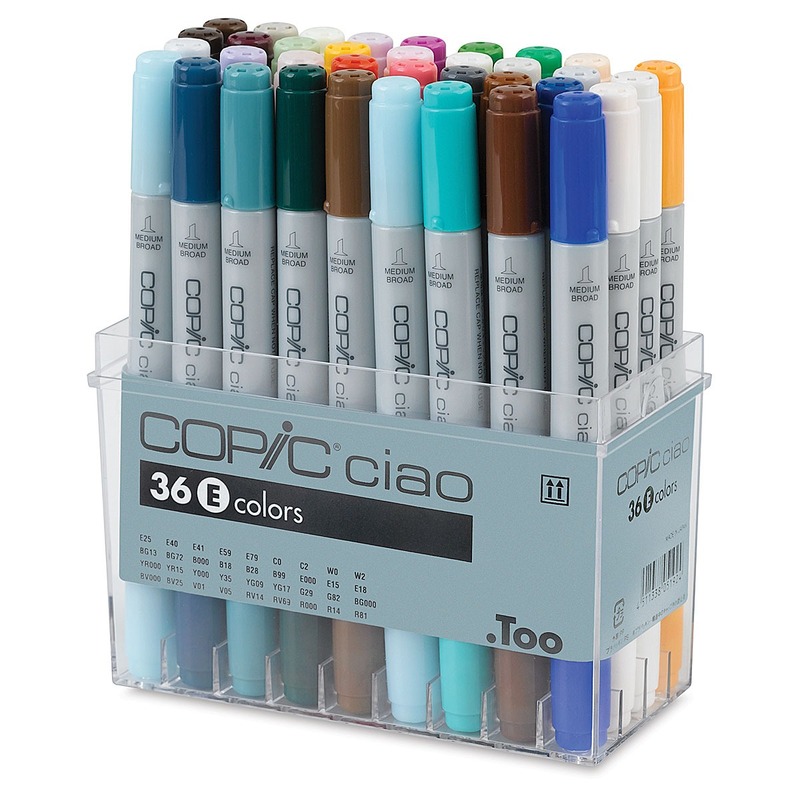
- Copic: Known for their exceptional quality and refillable cartridges, Copic markers are a top choice for professionals. They offer a vast color range and replaceable nibs.
- Prismacolor: These markers are praised for their rich pigmentation and ease of blending. Prismacolor’s dual-ended markers add versatility for artists.
- Spectrum Noir: A budget-friendly option, Spectrum Noir markers still deliver on quality and blendability. They are also refillable, which is a plus for long-term use.
- Tombow: With a focus on brush markers, Tombow excels in creating soft, watercolor-like effects with the convenience of an alcohol marker.
- Winsor & Newton: Their markers, known for fine art use, offer a unique blend of precision and color depth, ideal for detailed work.
Each brand brings something special to the table. Copic stands out for its reputation and quality, making them a hefty investment, but worth it for serious artists. Prismacolor offers comfort of use with their soft tips and rich colors. Spectrum Noir is excellent for those budget-conscious but still desiring quality. Tombow allows for a more painterly approach with their flexible brush tips. Winsor & Newton offers precision, which is perfect for artists who work with intricate designs.
Your choice should align with your specific needs, whether you prioritize blendability, color range, or tip type. Consider trying different brands to find which work best for your style. Exploring the unique features of each can help you make informed decisions to enhance your art.


