Watercolor paints, with their vibrant transparency and fluid nature, can be both captivating and intimidating for aspiring artists. The allure of creating luminous washes and capturing delicate details is undeniable, but the fear of uncontrollable water flow and muddy colors can hold beginners back. However, with the right approach and a few foundational techniques, anyone can embark on a rewarding journey of mastering watercolors.
Part 1: Gathering Your Watercolor Arsenal
1. Paints and Brushes:
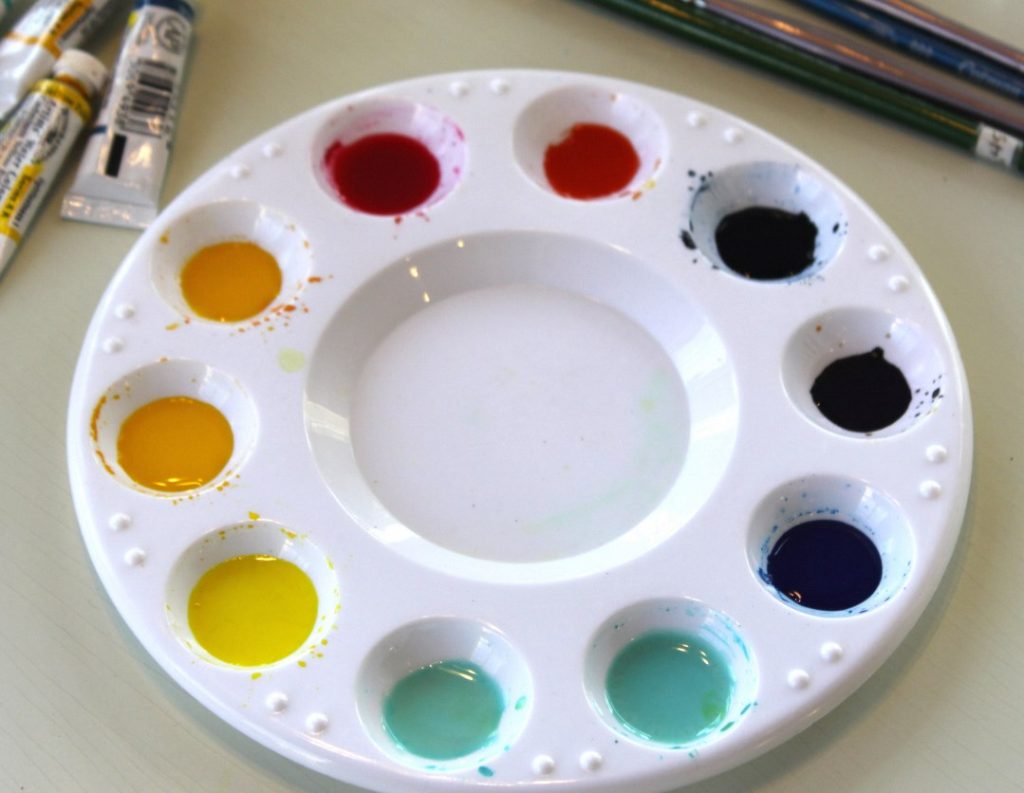
Watercolor paints come in various forms, including tubes, pans, and liquids. For beginners, a starter set with a limited palette of high-quality primary and secondary colors is ideal. As you progress, you can expand your collection. Brushes are equally important. Choose a variety of round brushes in different sizes for washes, details, and controlled lines. Experiment with flat brushes for washes and broad strokes. Opt for natural fibers like watercolor specific brushes that hold water well and come to a fine point.
2. Paper and Other Essentials:
Watercolor paper is essential for successful paintings. Look for 100% cotton paper with a cold-pressed texture, which offers a good balance between smoothness and tooth (the ability to hold paint). Start with a medium weight paper, around 140lb, that can handle washes without buckling. Other essentials include a sturdy palette for mixing paints, clean water containers for rinsing brushes, and soft cloths for blotting.
Part 2: Basic Watercolor Techniques
1. Wet-on-Wet Washes:
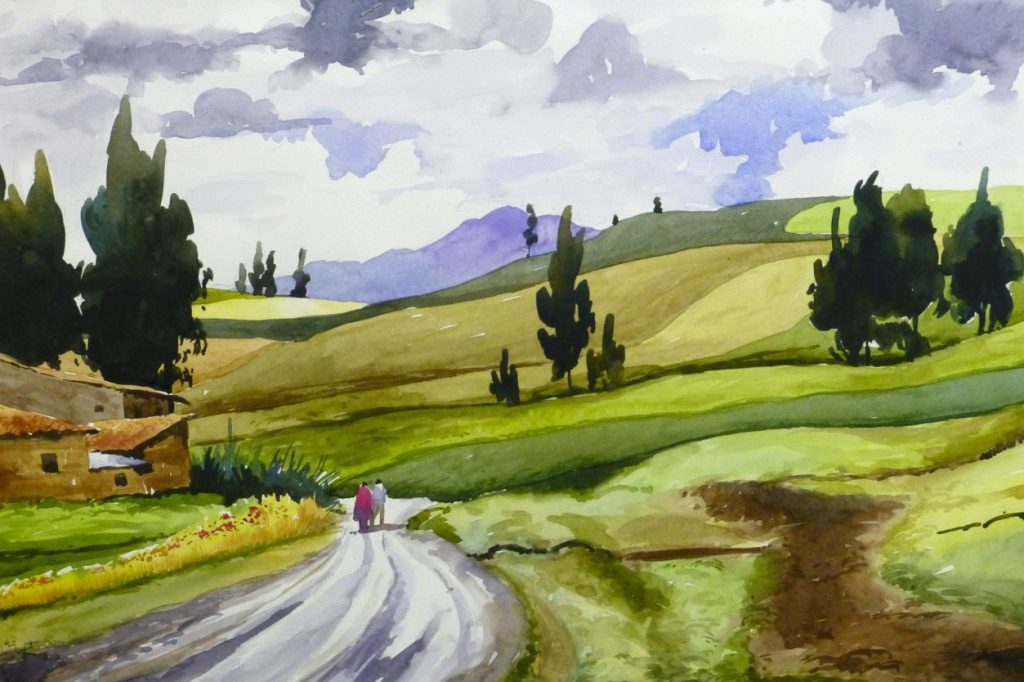
Delving into the fundamental technique of watercolor painting involves applying paint to wet paper, allowing the colors to blend seamlessly. To begin, thoroughly wet your paper, then drop in puddles of color, allowing them to spread naturally and merge with one another. Tilt the paper gently to encourage the colors to flow and interact, creating beautiful, fluid patterns. This process allows for a range of expressive and dynamic effects to emerge as the pigment interacts with the water and the paper. Furthermore, experimenting with different color combinations can lead to the discovery of unique and captivating visual effects. By exploring and mastering this technique, artists can unlock the full potential and versatility of watercolor, creating stunning and evocative artwork that captures the fluid and expressive nature of the medium.
2. Dry Brushstrokes:
Dry brushstrokes provide a stark contrast to the wet-on-wet washes in watercolor painting. This technique involves applying paint with a brush that contains minimal water, resulting in textural effects and allowing for the precise placement of color. By using this method, artists can achieve a wide range of effects, such as adding intricate details to a painting, creating subtle textures, or producing controlled paint splatters for added visual interest. The dry brush technique enables artists to create a sense of depth and dimension in their artwork through the controlled application of pigment, offering a level of precision and fine detail that can enhance the overall impact of the painting. Incorporating dry brushstrokes into watercolor paintings opens up new possibilities for expression and artistic experimentation, allowing for the creation of visually captivating and textured washes that add depth and complexity to the artwork.
Part 3: Essential Skills and Practices
1. Color Mixing and Layering:
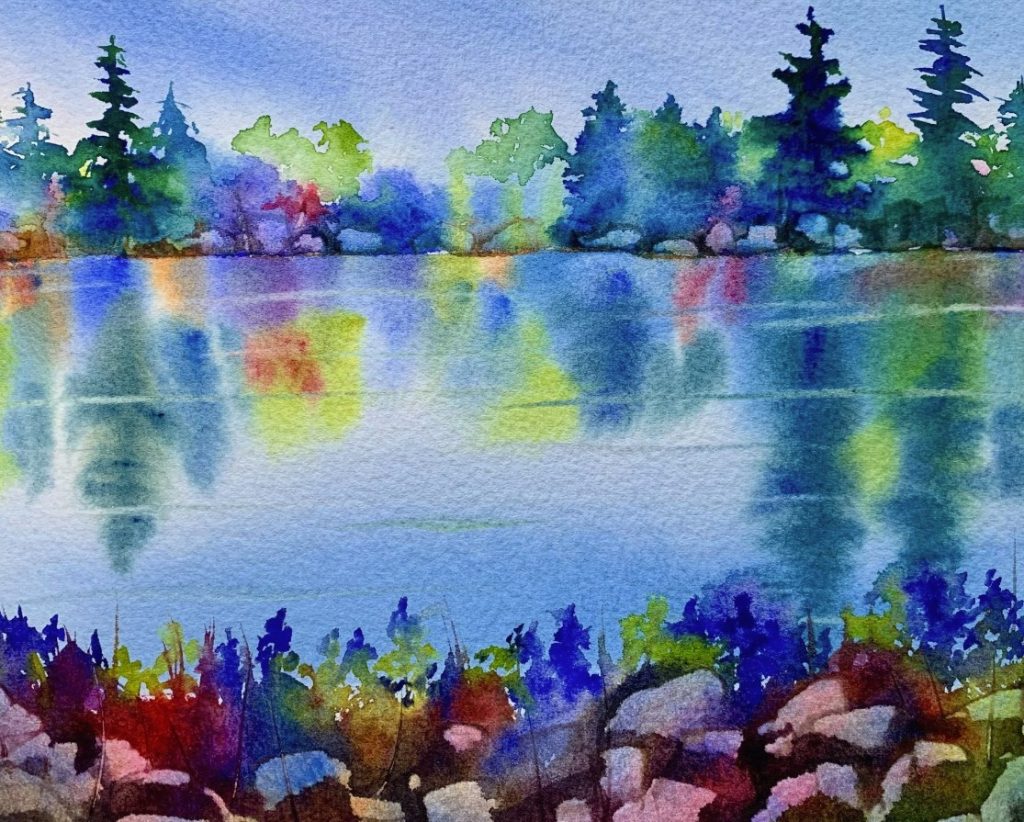
Watercolor paints are transparent, so mastering color mixing is crucial. Begin by learning how to create primary and secondary colors. Practice washes where you layer colors to create depth and richness. Experiment with thin glazes for subtle color variations. Remember, lighter colors typically go down first, with darker tones layered on top.
2. Brushwork Control:
Developing good brush control is essential for creating successful watercolors. Practice basic strokes like washes, lines, and dots. Pay attention to how much water you load into your brush and how the pressure you apply affects the outcome. Remember, mistakes are inevitable with watercolors – embrace them or use lifting techniques to remove unwanted paint.
Part 4: Putting It All Together: Your First Watercolor Painting
1. Choosing Your Subject:
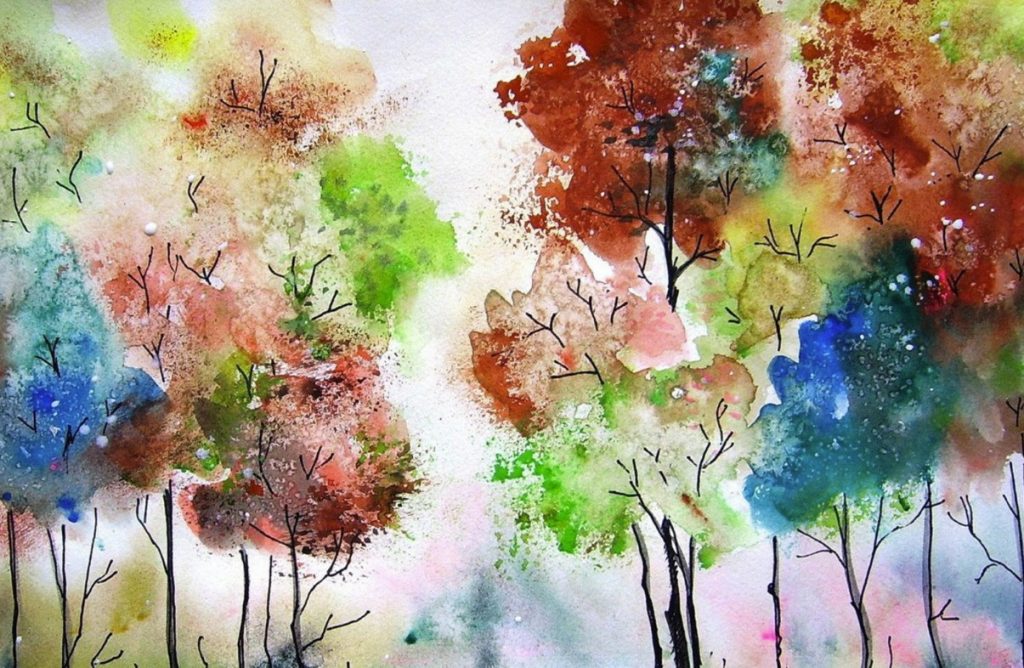
When embarking on your first watercolor painting, it is advisable to select a simple subject with well-defined shapes and limited details. Consider choosing subjects such as flowers, fruits, or landscapes with clean lines, as they offer a great starting point for beginners. By opting for subjects with clear shapes and minimal intricate details, you can focus on mastering basic watercolor techniques, such as color mixing, applying washes, and creating gradients. This allows you to build confidence and proficiency in handling the medium before progressing to more complex subjects. Additionally, working with simple subjects provides an opportunity to understand the interaction of water and pigment on paper, as well as the use of brushstrokes to convey form and texture. As you familiarize yourself with these foundational skills, you can then gradually expand your repertoire to tackle more intricate and detailed subjects with greater ease and proficiency.
2. Planning and Composition:
Before starting your watercolor painting, it’s important to lightly sketch your composition with a pencil. Take the time to carefully consider the placement of your subject within the frame, as well as how the use of negative space can enhance your painting. By sketching your composition, you can establish a strong foundation for your artwork, ensuring that the elements are well-balanced and harmoniously arranged within the space. Pay attention to the positioning of your subject, as it will play a crucial role in determining the overall visual impact of your painting. Additionally, consider how the use of negative space can contribute to the composition, whether it serves to create a sense of depth, balance, or emphasis within the artwork. Taking these preliminary steps not only helps in planning the visual layout of your painting but also sets the stage for a more successful and aesthetically pleasing final piece.
3. Painting Process:
Begin with a light wash over your entire background. Layer additional washes to create depth. Once the background dries, paint your subject, using a combination of wet-on-wet and dry brushstrokes. Add details and final touches once the main shapes are established.
Remember, mastering watercolor painting takes time and practice. Don’t be discouraged by initial challenges – embrace the learning process and enjoy the journey. With dedication and these foundational techniques, you’ll be well on your way to creating beautiful and expressive watercolors.
