Oil pastels are a vibrant and versatile art medium that allows for both bold, expressive strokes and smooth, blended effects. Mastering the art of blending and layering with oil pastels unlocks a whole new world of creative possibilities, enabling you to create depth, realism, and captivating textures in your artwork. This guide will equip you with the essential techniques to take your oil pastel creations to the next level.

Part 1: Blending Techniques
Layering and Smudging:
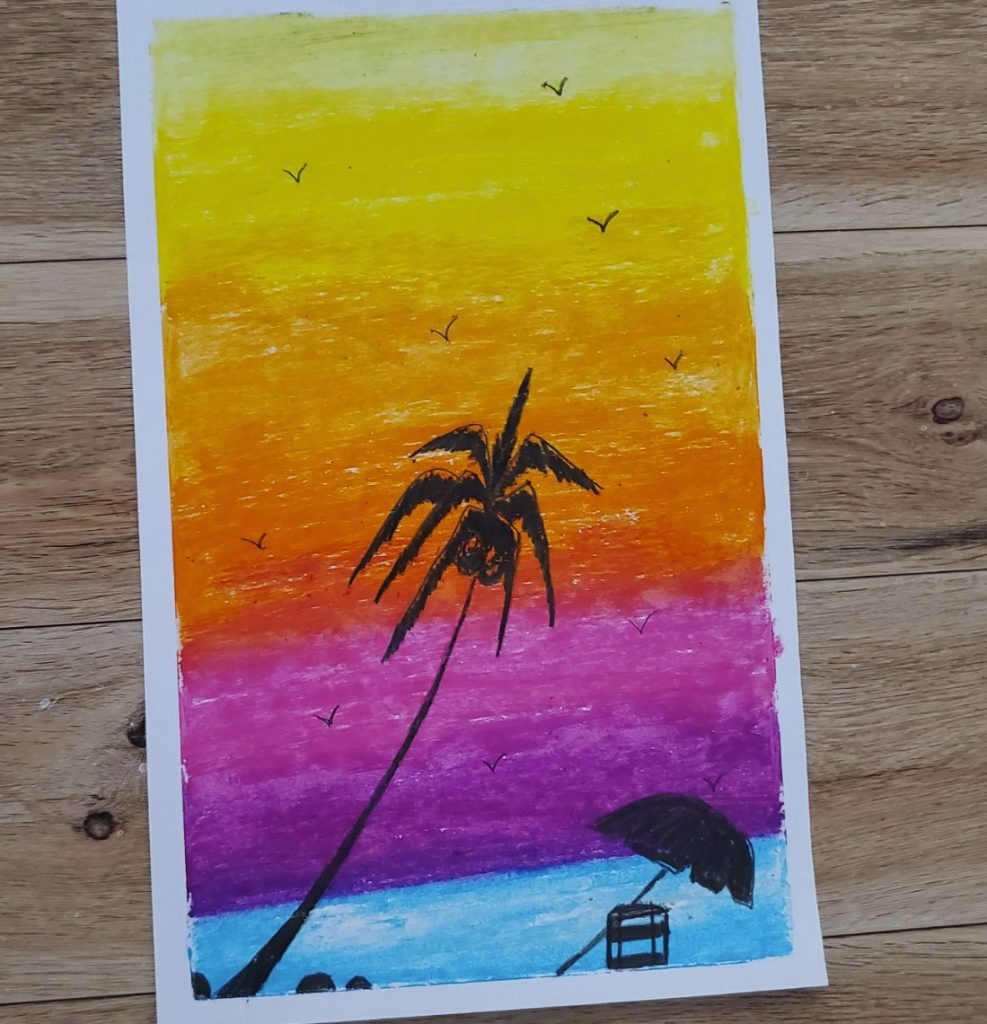
The most basic yet effective blending technique involves layering colors and then smudging them together. Apply your first color lightly, then add subsequent layers on top. Use your finger, a blending tool like a tortillon, or a soft paintbrush to gently smudge the colors where they meet, creating a seamless transition. Remember, applying too much pressure can lift underlying colors, so start light and gradually build up the intensity.
Solvent Blending:
If you desire a smoother, more painterly effect with your oil pastels, consider experimenting with solvent blending. This technique involves using a solvent such as mineral spirits to thin the oil pastel on the surface, facilitating easier blending and creating a soft, ethereal quality to your artwork. To implement solvent blending, start by applying your oil pastels as you normally would, and then dip a clean brush in a small amount of solvent. Gently brush the solvent over the areas you wish to blend, allowing the colors to mix and transition seamlessly. It’s important to exercise caution when working with solvents, as they can emit strong odors and should be used in a well-ventilated area. Additionally, follow the proper safety procedures, including using solvent-resistant gloves and ensuring that all containers are securely closed when not in use, to ensure a safe and enjoyable experience when exploring this blending technique.
Part 2: Layering Techniques
Light to Dark:
When layering colors, it’s generally recommended to start with the lightest colors and gradually build up to darker shades. This approach allows you to maintain the vibrancy of your lighter colors and achieve a more controlled blending process. By starting light, you can always add more pigment to darken areas, but it’s difficult to lighten colors once too much oil pastel has been applied.
Glazing:
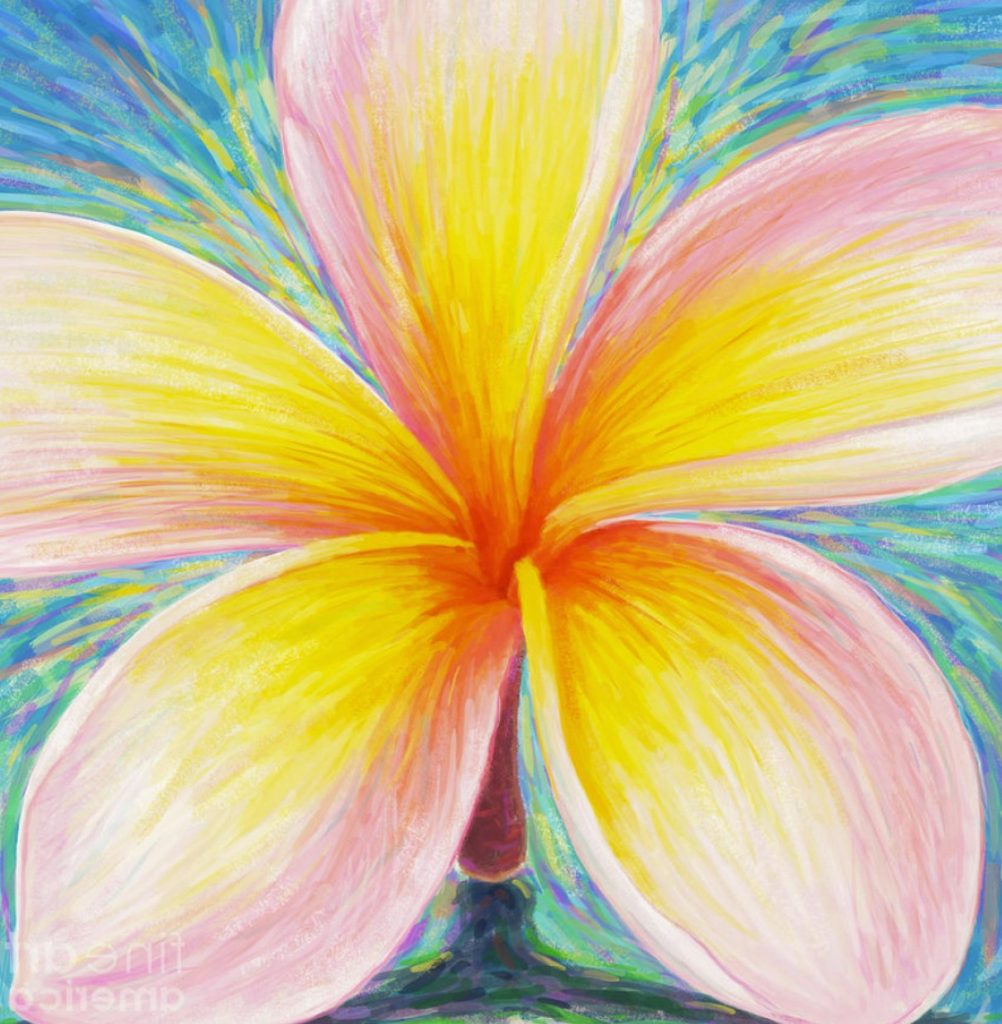
To achieve a more nuanced and luminous effect with your oil pastels, consider experimenting with the glazing technique. With this method, you apply thin, transparent layers of oil pastel, allowing each layer to dry slightly before adding the next. By building up the color in delicate layers, you can gradually intensify the hues while preserving the brilliance and vibrancy of each individual color. The glazing technique is particularly effective for creating smooth transitions and subtle color variations, making it ideal for depicting skies, water, or other areas in your artwork where a sense of depth and atmospheric dimension is desired. This layering approach allows you to achieve a depth and richness of color that is difficult to achieve with direct application, enabling you to create a sense of luminosity and depth that enhances the overall visual impact and appeal of your oil pastel artwork.

Part 3: Tools for Blending and Layering
Your Fingers:
The simplest and most easily accessible tool for blending oil pastels is your finger. The natural oils in your fingers help soften and blend the oil pastel pigment smoothly, allowing you to achieve seamless transitions and gradations of color. However, it’s important to note that this method may also transfer skin oils to your artwork, potentially altering the texture and affecting its archival quality. To mitigate this, make a habit of washing your hands frequently and using a clean blending area on your finger to minimize the risk of unintentionally transferring oils to your artwork. Additionally, consider using blending stumps, tortillons, or cotton swabs for more precise blending, particularly in smaller and more detailed areas of your artwork. These alternative blending tools provide greater control and precision while offering a cleaner, oil-free blending method to achieve professional results with your oil pastel artwork.
Blending Tools:
When working with oil pastels, incorporating a variety of blending tools can greatly enhance your artistic creations. Tortillons, with their papery texture, are excellent for achieving smooth and even blends across your artwork. Their delicate nature enables them to seamlessly blend colors together, creating soft transitions between hues. On the other hand, blending stumps provide a firmer touch, making them ideal for more precise blending in smaller and more detailed areas of your artwork. Additionally, you can experiment with unconventional blending tools such as cotton swabs, makeup brushes, or even natural items like leaves to impart unique textural effects and add an element of surprise to your compositions. By exploring different blending tools, you can expand your techniques, create interesting textures, and achieve a greater level of control and creativity in your oil pastel artwork, resulting in a diverse and visually captivating body of work.
Part 4: Tips and Tricks for Success
Work on the Right Surface:
When working with oil pastels, it’s essential to select the right paper to optimize your artwork. Choose a heavyweight, textured paper specifically designed for oil pastels. This type of paper boasts a toothy surface that effectively grips the oil pastel pigment, preventing excessive smudging while allowing for smooth and controlled layering. The tooth of the paper provides the necessary grip to hold the pigment in place and enables you to build up layers of colors without the worry of them blending together or smearing. This textured surface also allows for better control when applying the medium and can help to create more defined and detailed artwork. By using the appropriate paper, you can enhance the quality and longevity of your oil pastel pieces, ensuring that your colors remain vibrant and your compositions maintain their integrity over time.
Maintain Cleanliness:
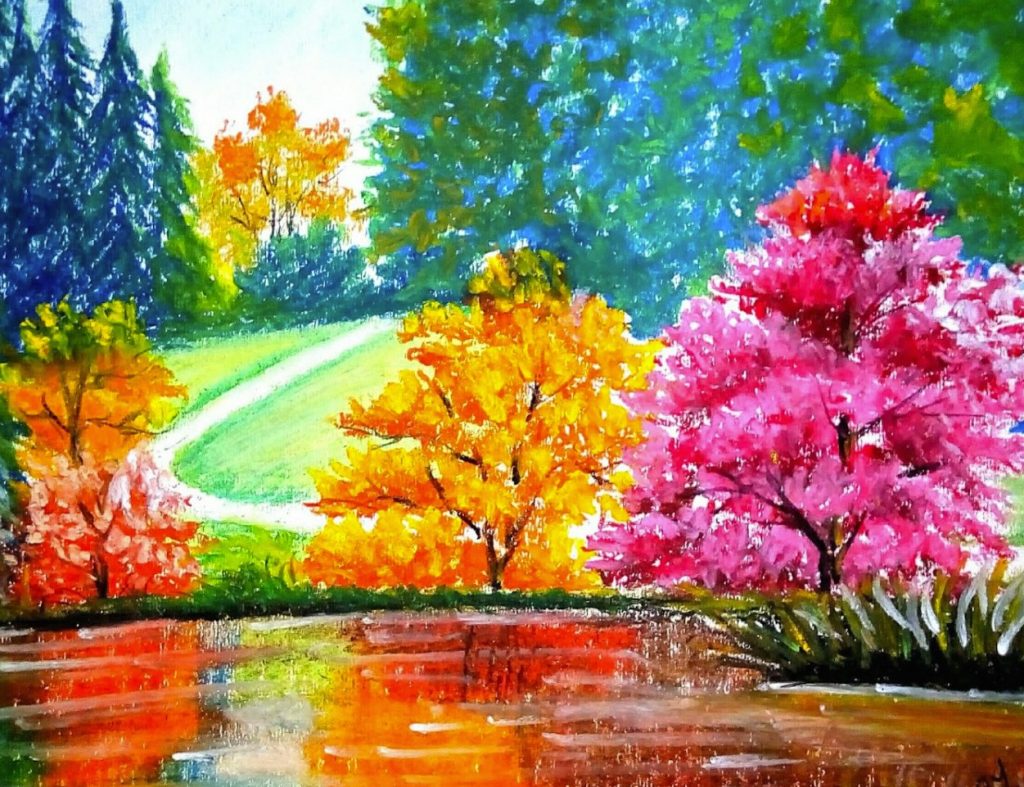
As you work with oil pastels, be mindful of keeping your pastels and blending tools clean. Wipe off any excess color on a scrap piece of paper to prevent accidental color contamination. Clean your blending tools regularly to maintain their effectiveness.
By following these techniques, tips, and tricks, you’ll be well on your way to mastering the art of blending and layering with oil pastels. Remember, practice is key! Experiment with different blending methods, layering approaches, and tools to discover what works best for you and your artistic style. With dedication and a little creativity, you’ll be unlocking the full potential of this vibrant and versatile medium.
