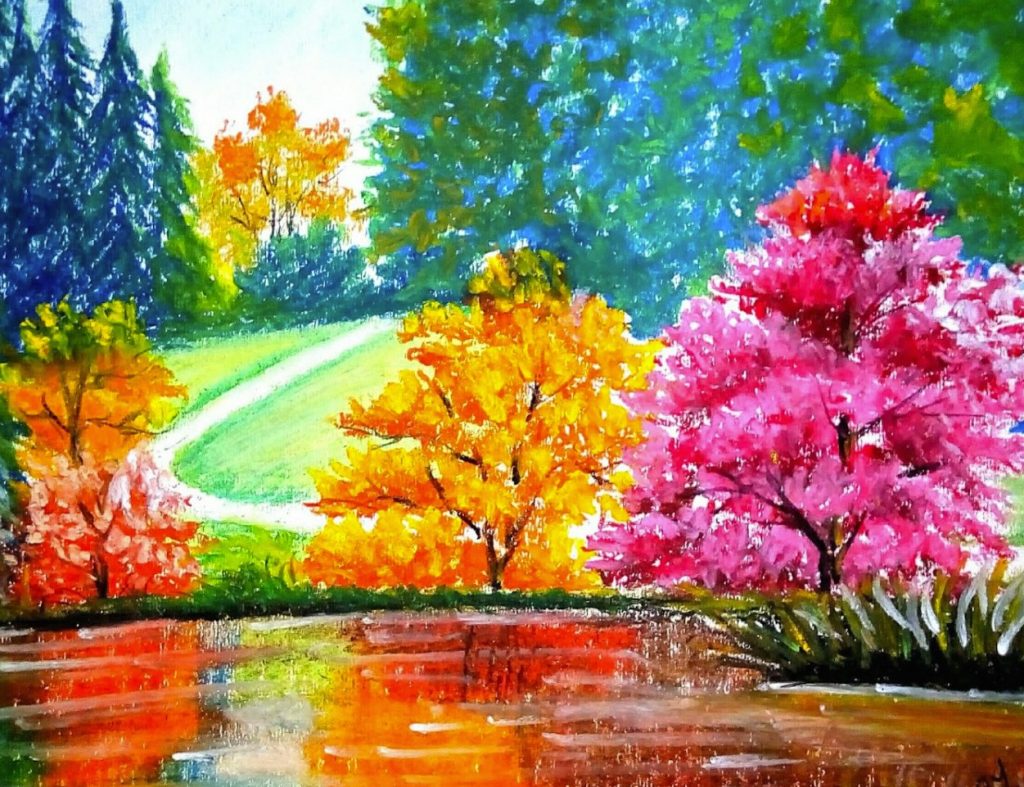
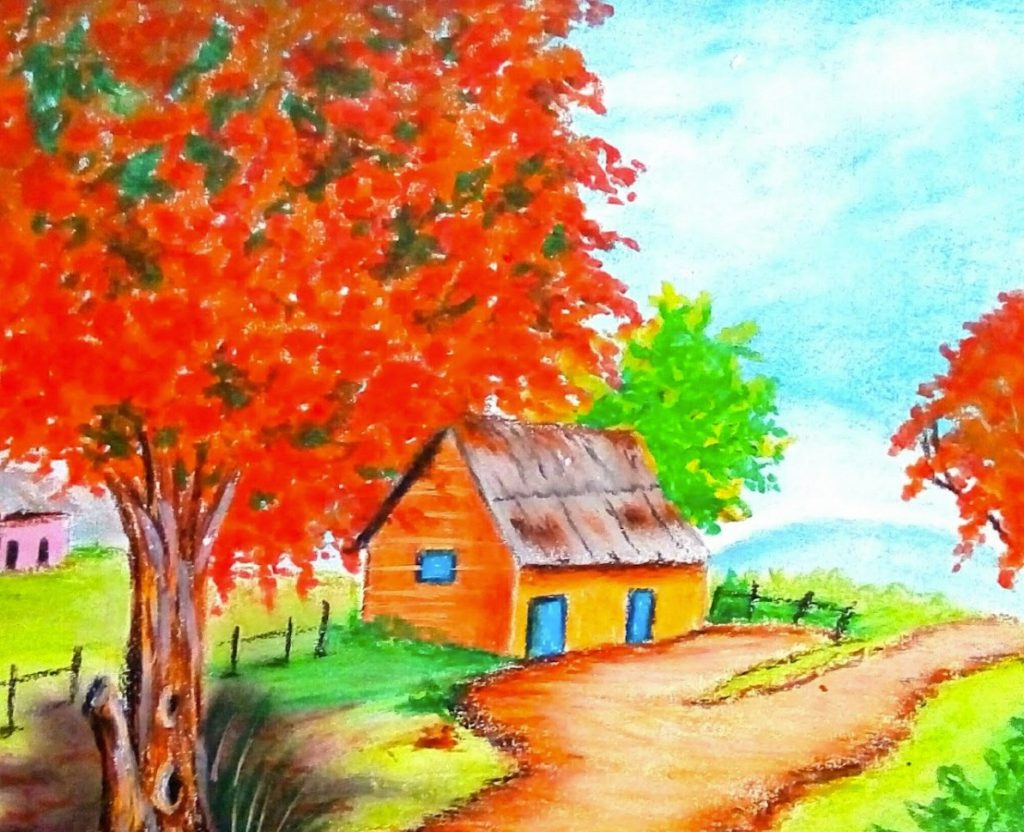
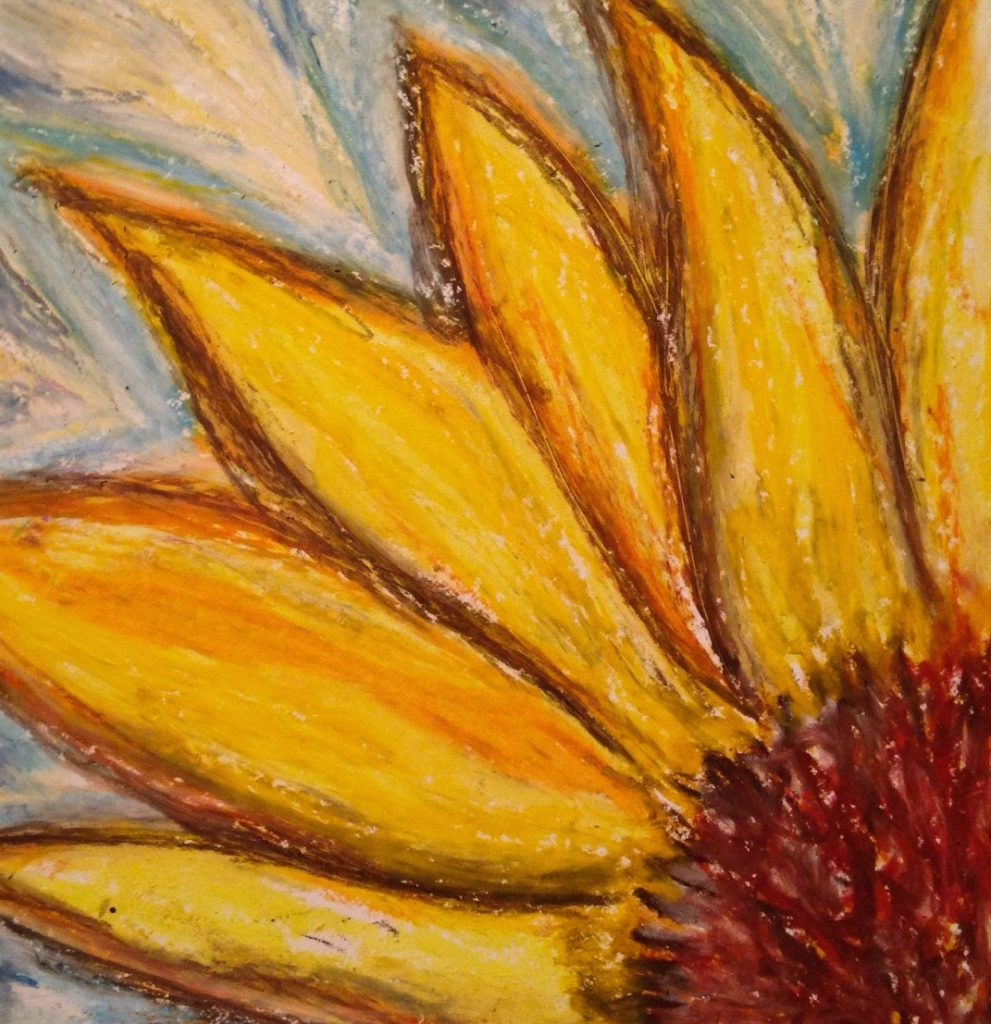
Oil pastels offer a vibrant and expressive way to capture the beauty of a landscape. Their rich colors and smooth blending capabilities make them perfect for beginners and experienced artists alike. With a few basic steps and some creative flair, you can transform your blank canvas into a breathtaking oil pastel scenery.
Part 1: Prepare Your Workspace and Gather Materials

Setting the Stage:
It is essential to create a conducive workspace for working with oil pastels. Start by finding a well-lit area with ample ventilation to ensure a comfortable environment for your creative process. Adequate lighting is crucial as it allows you to accurately discern the true colors of your pastels while also mitigating eye strain, thus enhancing your overall artistic experience. Additionally, given that oil pastels can produce dust particles during use, placing newspaper or a dedicated art mat on your work surface can help contain any mess and make for easier cleanup. This proactive measure not only maintains cleanliness but also ensures that your workspace remains organized and free of excess debris. By setting up a well-lit, well-ventilated space with the necessary protective measures, you can create an ideal working environment that promotes focus, comfort, and optimal conditions for your oil pastel artistry.
Gather Your Arsenal:
You’ll need a set of oil pastels with a good range of colors. A basic set of 24 colors is a great starting point, but don’t hesitate to expand your collection later on. Look for heavyweight, textured paper specifically designed for oil pastels. It will hold the color well and prevent smudging. A light pencil, a blending tool (like a tortillon or your fingers), and an eraser are also essential.

Part 2: Compose Your Landscape and Block in Colors
Finding Inspiration:
Exploring various landscape references can serve as a wellspring of inspiration for your art. Whether it’s a photograph you captured, a renowned painting, or a scene conjured from your imagination, each source provides a unique perspective to draw from. By studying these references, you can identify compelling elements that resonate with you and serve as the foundation for your artistic vision. When approaching a landscape subject, consider sketching a light outline that captures the major elements such as mountains, trees, and a horizon line. This initial sketch aids in planning and organizing your composition, allowing you to carefully arrange the visual elements within the frame. It provides a framework for developing the spatial relationships, proportions, and overall structure of the landscape. By embracing a range of references and employing preparatory sketches, you can infuse your artwork with depth, coherence, and a compelling sense of place, transforming your creative vision into a captivating and fully-realized landscape composition.
Building the Foundation:
Start by blocking in the large areas of color. Use light pressure with your pastels to establish the basic shapes of the sky, land, and water. Think about the overall color scheme you want to create. For a vibrant sunset, use warm colors like orange, red, and yellow for the sky. Layer different shades of the same color to create depth and dimension.

Part 3: Layer and Blend for Depth and Detail
Layering Magic:
Once you have outlined your scene, the creative process really begins. You delve into the captivating art of layering with oil pastels. This technique allows you to imbue your artwork with a sense of richness and depth. It elevates it to new levels of visual appeal. Building upon your initial layers, you can use darker oil pastel hues to define shadowed areas within your composition. You can use lighter colors to accentuate highlights, imparting a sense of luminosity to your art. An essential aspect of this stage is to embrace experimentation. Don’t hesitate to overlap different colors and observe how they interact to form new tones and textures within your work. As you explore and manipulate the layers, you’ll discover an array of possibilities for creating depth, dimension, and visual interest in your artwork. The layering process not only enhances the aesthetic appeal of your piece. It also allows you to infuse it with captivating nuances that bring your creative vision to life.
Blending for Smooth Transitions:
This is where oil pastels truly shine. Use your blending tool or even your fingers to soften the edges between colors, creating smooth transitions. Don’t blend everything completely – some sharp contrasting edges can add visual interest. For skies with wispy clouds, use a light touch with your blending tool to create a soft, dreamlike effect.

Part 4: Adding Finishing Touches and Embracing the Process
Details Bring it to Life:
After establishing the foundational elements of your scene, the next step involves infusing it with intricate details to evoke a sense of vibrant realism. Begin by adding finer details to breathe life into your composition. Utilize thin, deliberate strokes of oil pastels to depict individual trees, flowers, or the subtle movements of animals within the landscape. This approach allows you to imbue your artwork with a sense of dynamic energy and visual richness, capturing the essence of the natural world. For added precision, consider sharpening your pencil slightly. This will impart finer textures on rocks, convey the delicate ripples on water surfaces, and delineate intricate patterns within the scene. By attending to these finer details, you can elevate the depth and complexity of your artwork. You’ll create a captivating and immersive landscape that beckons viewers into its intricately depicted world. It’s through these precise touches that your artistic vision truly comes to life. It elevates your oil pastel landscape to a compelling and fully realized masterpiece.
Embrace the Journey:
The beauty of oil pastels is that they allow for a loose and expressive style. Don’t strive for perfection – embrace the happy accidents and the unique textures that oil pastels create. If you make a mistake, simply blend it in or use a kneaded eraser to gently lift some of the color.

With these simple steps and a little practice, you’ll be well on your way to creating stunning oil pastel sceneries. Remember, art is a journey, so relax, have fun, and let your creativity flow!
Feeling adventurous? Explore different techniques like scumbling (applying short, light strokes) or scratching (using a sharp tool to reveal the paper beneath the pastel). These techniques can add texture and visual interest to your artwork.
There are endless possibilities when it comes to creating oil pastel landscapes. So grab your pastels, find inspiration, and embark on your own artistic adventure!


