Oil pastels, with their vibrant colors and smooth texture, are an inviting medium for artistic exploration, especially for beginners. Unlike traditional pastels, oil pastels blend beautifully and create rich textures, making them perfect for creating expressive artwork. This guide will equip you with a handful of easy techniques to transform your oil pastels into tools for creative fun.
Part 1: Color Your World
1. Rainbow Blending:
Let’s embark on a vibrant technique that celebrates the beautiful spectrum of color! Begin by selecting a set of oil pastels with a diverse range of colors to explore. On your chosen textured paper, draw broad horizontal stripes with each color, placing them adjacent to one another to form a colorful band. Now, the exciting and creative stage begins! With the use of your finger or a blending stump, delicately blend the edges of each color into the next, seamlessly merging them and creating a smooth and enchanting rainbow-like effect. Through this blending process, various pressures can be experimented with to achieve subtle transitions or bold and dramatic shifts between colors. This technique allows artists to actively engage with the full range of colors available, fostering a deep appreciation for their individual qualities and the harmonious fusion they create when expertly blended together.
2. Shapes and Stencils:
Geometric shapes are a great way to practice color application and explore negative space. Draw simple shapes like squares, circles, and triangles on your paper. Now, use different colors to fill each shape completely. Play with complementary colors (opposites on the color wheel) for a vibrant contrast or analogous colors (next to each other) for a harmonious feel. Stencils can also be used to create playful shapes and patterns. Explore geometric stencils or create your own simple designs to add a unique touch to your artwork.
Part 2: Textural Adventures
1. Scratch and Reveal:
Oil pastels offer an array of exciting textural possibilities for artists to explore and experiment with. Begin by drawing a base layer on your paper using a light color. Next, apply a darker color on top, completely covering the first layer, creating a solid, rich surface. Now comes the magic! Using a toothpick or a craft knife, gently scratch away sections of the top layer, revealing the lighter color underneath. This technique can create a captivating variety of textures, such as fur, bark, or even the rough surface of brick walls. By employing this method, you can add depth and dimension to your artwork, infusing it with a tactile and visually engaging quality. The tactile nature of this process allows you to explore new and inventive ways to capture the essence of various textures, adding a compelling and lifelike element to your oil pastel drawings.
2. Layering and Hatching:
Layering colors serves as a fundamental technique for artists seeking to infuse depth and dimension into their creations. To begin, establish a light base color and gradually build up darker shades on top, allowing for a smooth transition that heightens the sense of depth within the artwork. Embracing experimentation is crucial — try applying the pastels in various directions to create a compelling sense of texture within the piece. Additionally, consider incorporating hatching, a technique in which short, intersecting lines are created with the pastel to convey shadows or imply texture. By varying the thickness and proximity of these lines, you can achieve a diverse range of effects, adding intricacy and visual interest to your artwork. Through these methods, artists can cultivate an immersive and multi-dimensional quality in their work, unlocking the potential to captivate viewers and convey a rich, vibrant narrative through their use of oil pastels.
Part 3: Let’s Draw Something!
1. Colorful Landscapes:
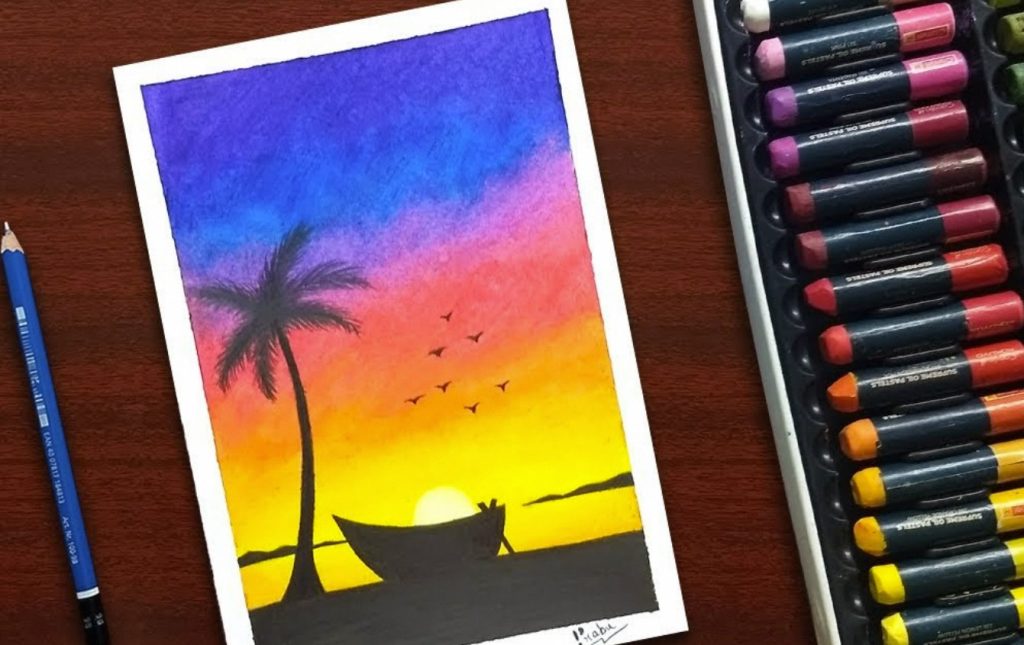
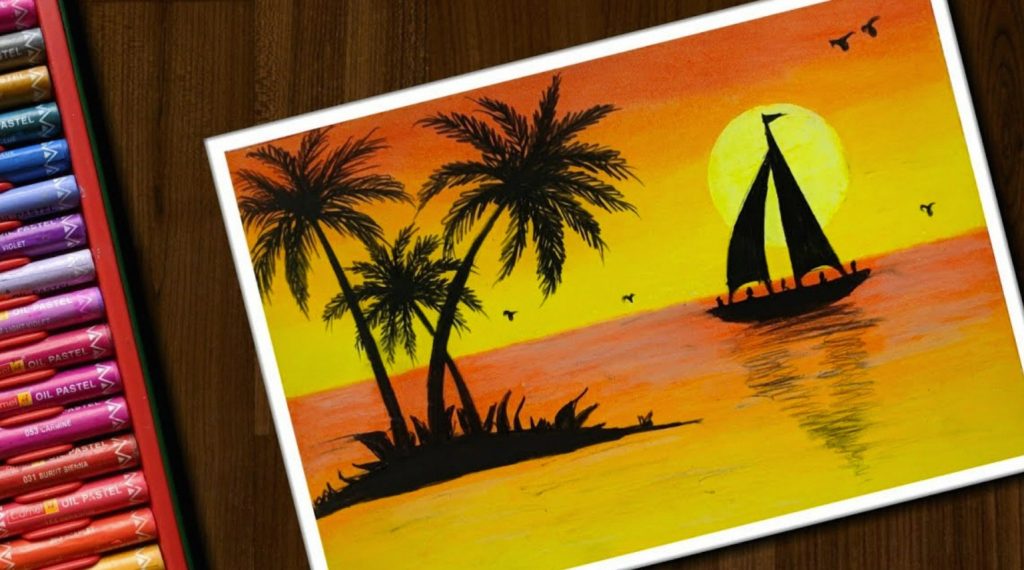
Oil pastels are a wonderful medium for capturing the beauty and tranquility of landscapes. To depict a serene sky, begin by applying a light blue or green base color onto the paper. Then, use a blending stump to create a smooth gradient from light to dark as you move down the paper, effectively simulating the transition from horizon to zenith. Next, add rolling hills to your landscape using brown or green pastels, layering the colors to create a sense of depth and distance. Additionally, adding details such as trees with short, vertical strokes can enhance the realism of your landscape. To infuse warmth and radiance into your scene, consider adding a bright yellow sun or other elements that reflect the essence of nature.
2. Bowl of Fruit:
A simple still life like a bowl of fruit is a fun way to practice color application and shading. Draw a simple oval shape for the bowl. Use a light brown pastel to fill it in, leaving highlights untouched. Now, let’s add the fruit! Choose vibrant colors for your favorite fruits, like red for an apple or orange for an orange. Apply the color in a circular motion, creating a round shape. Use a darker shade of the same color to add shadows and definition.
Part 4: Keep Exploring!
1. Experiment with Tools:
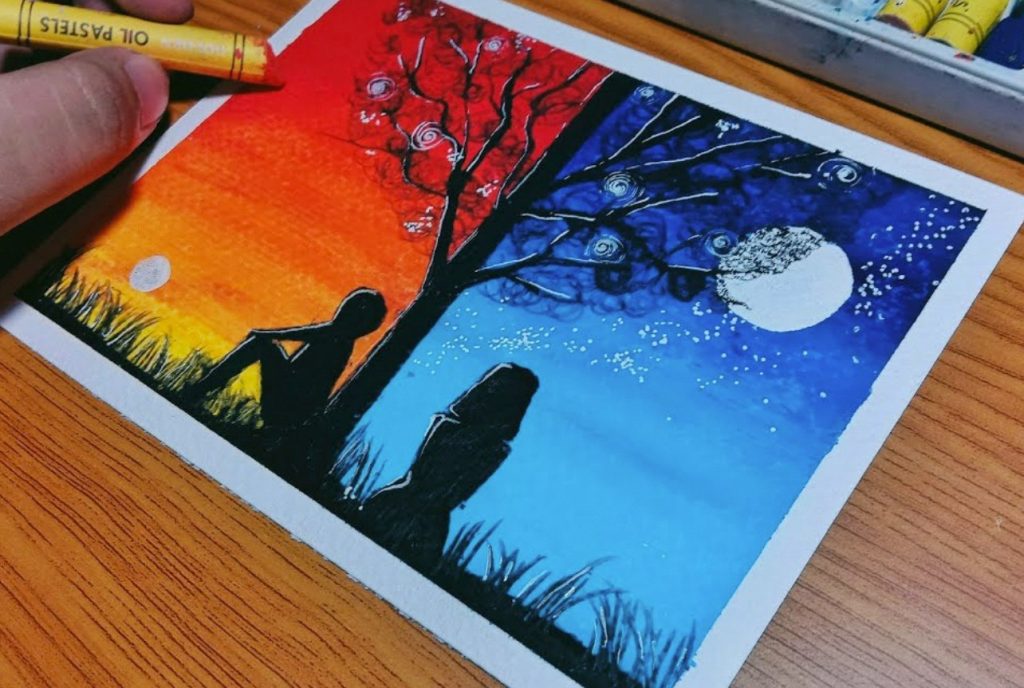
Oil pastels open up a world of creative possibilities when combined with a diverse array of tools. While your fingers and blending stumps can be the foundation for blending, consider exploring other unconventional tools for different effects. For example, cotton swabs can be used for soft, delicate blending, achieving a smoother and more subtle transition between colors. Crumpled tissue paper can create intriguing textured effects when lightly dabbed or rubbed onto the surface, adding depth and visual interest to your artwork. Additionally, you can use the back of a spoon to create curved shapes or to blend colors in a circular motion, offering a unique approach to adding dimension and fluidity to your compositions.
2. Find Inspiration Everywhere:
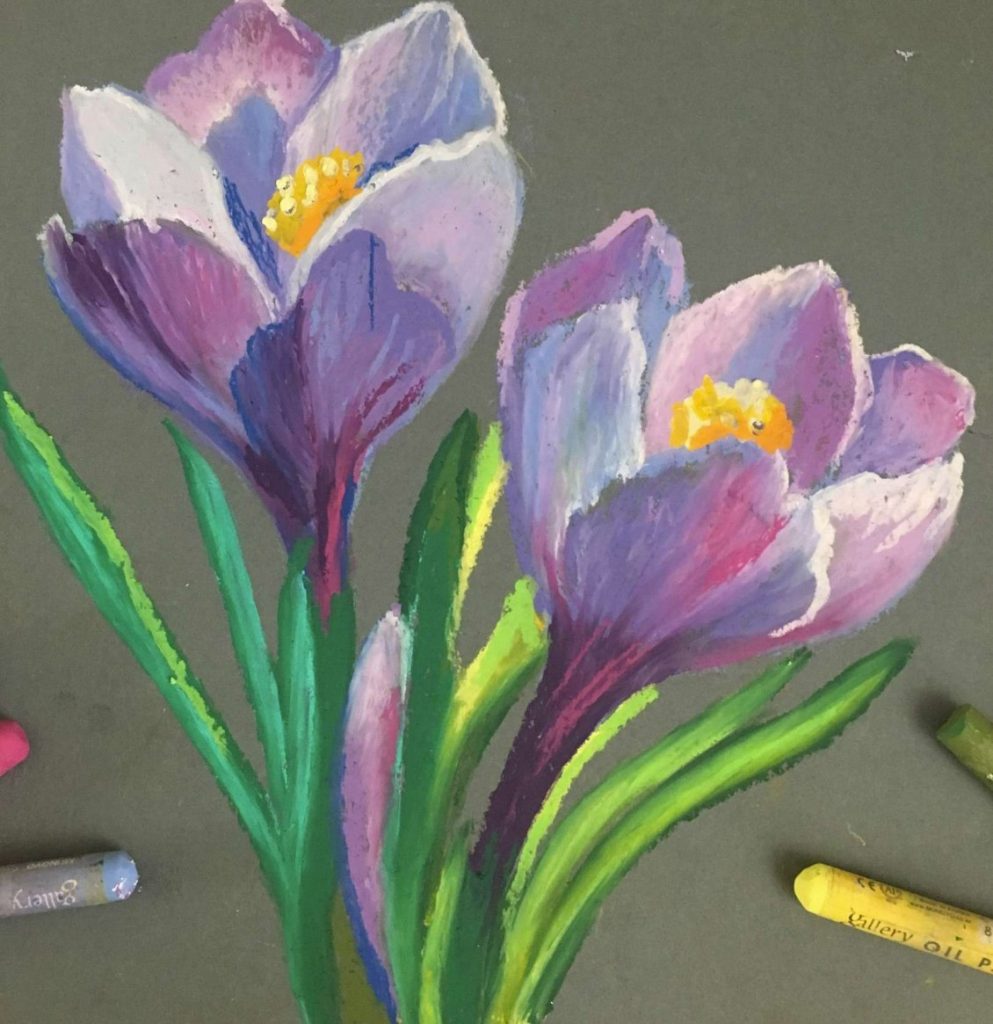
Open your eyes to the world around you! Look at the vibrant colors of flowers, the intricate textures of leaves, or the play of light and shadow on buildings. These elements can inspire your next oil pastel masterpiece. Take photos or make simple sketches to capture these inspirations and translate them into your artwork.
By mastering these easy techniques and embracing experimentation, you’ll unlock the creative potential of oil pastels. So grab your colorful toolbox, unleash your imagination, and have fun exploring the world of oil pastel art!
