Oil pastels, with their rich pigments and smooth texture, offer a unique and dynamic medium for artistic expression. Unlike crayons, they create a blendable, waxy texture that allows for vibrant layering and interesting effects. Whether you’re a seasoned artist or just starting your artistic journey, here are some valuable tips and tricks to elevate your oil pastel creations.
Part 1: Preparing Your Canvas and Colors
Embrace the Right Paper:
Not all paper is suitable for use with oil pastels, so it’s essential to choose the right type of paper to achieve the best results. Opt for heavyweight, textured paper that is specifically designed for use with pastels. This type of paper prevents your artwork from buckling or smudging excessively. It provides a stable surface for your oil pastel creations. Look for paper with a minimum weight of 160 gsm (grams per square meter) or higher. This heavier weight paper allows for better color application, layering, and durability. The textured surface of the paper allows the oil pastels to adhere better. It provides ample grip for the pigments and enables you to create a more pronounced and nuanced effect within your artwork. Overall, selecting the right paper will enhance the overall quality of your oil pastel pieces. It gives you a sturdy and reliable foundation to explore the medium’s potential and produce stunning, long-lasting creations.
Unleash the Power of Blending Tools:
While your fingers can be a useful tool for basic blending when working with oil pastels, incorporating additional blending tools into your artistic process can help you achieve a wider range of effects and enhance the versatility of the medium. Blending stumps are made of soft, tapered felt or paper and are excellent for achieving smooth and seamless transitions between colors. They provide more precision and control, allowing for gradual and controlled blending. They also allow for the ability to create intricate details and gradients within your artwork. Additionally, you can experiment with alternative tools such as cotton swabs, makeup brushes, or even pieces of soft cloth to achieve different textural effects and unique blending styles. By diversifying your blending techniques and tools, you can expand your artistic repertoire. Adding depth, dimension, and visual interest to your oil pastel creations. These additional resources can provide you with the means to explore new artistic possibilities and create captivating and expressive works of art.
Part 2: Layering and Application Techniques
Light Touches for Base Layers:
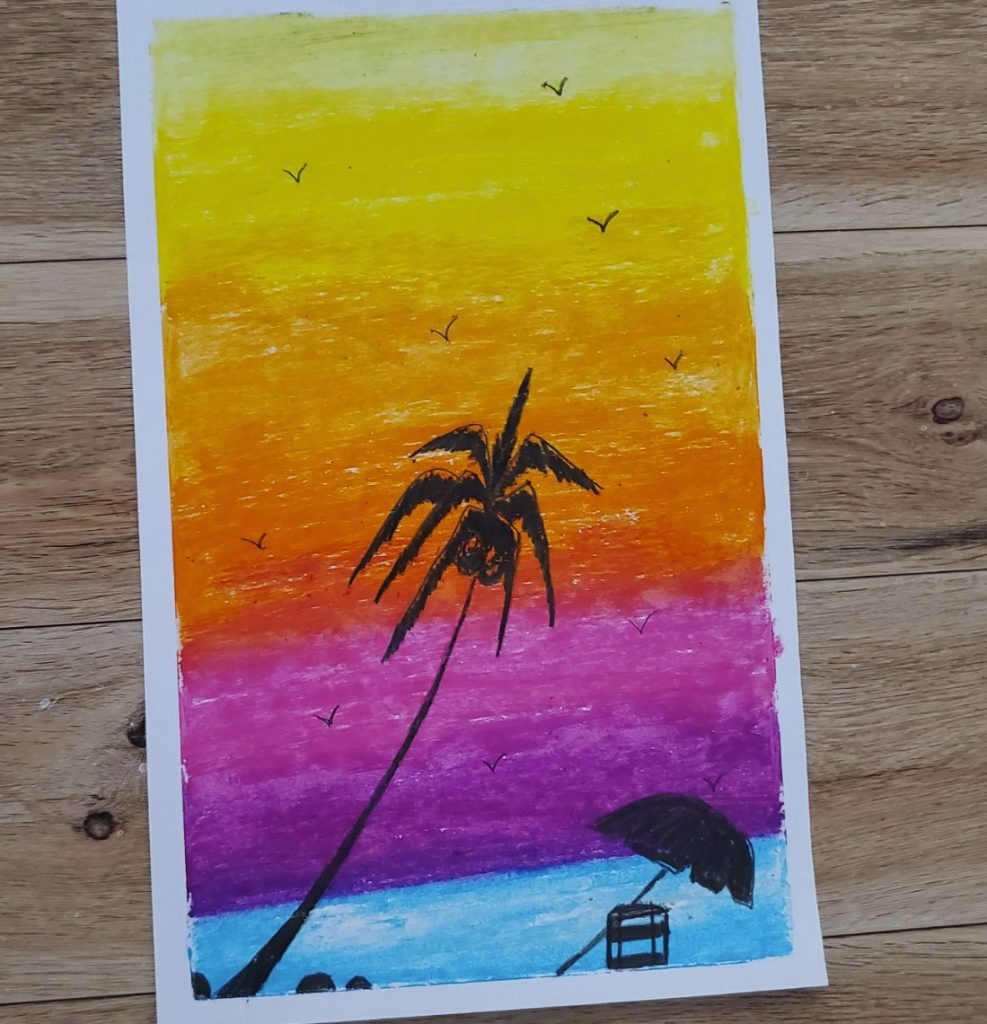
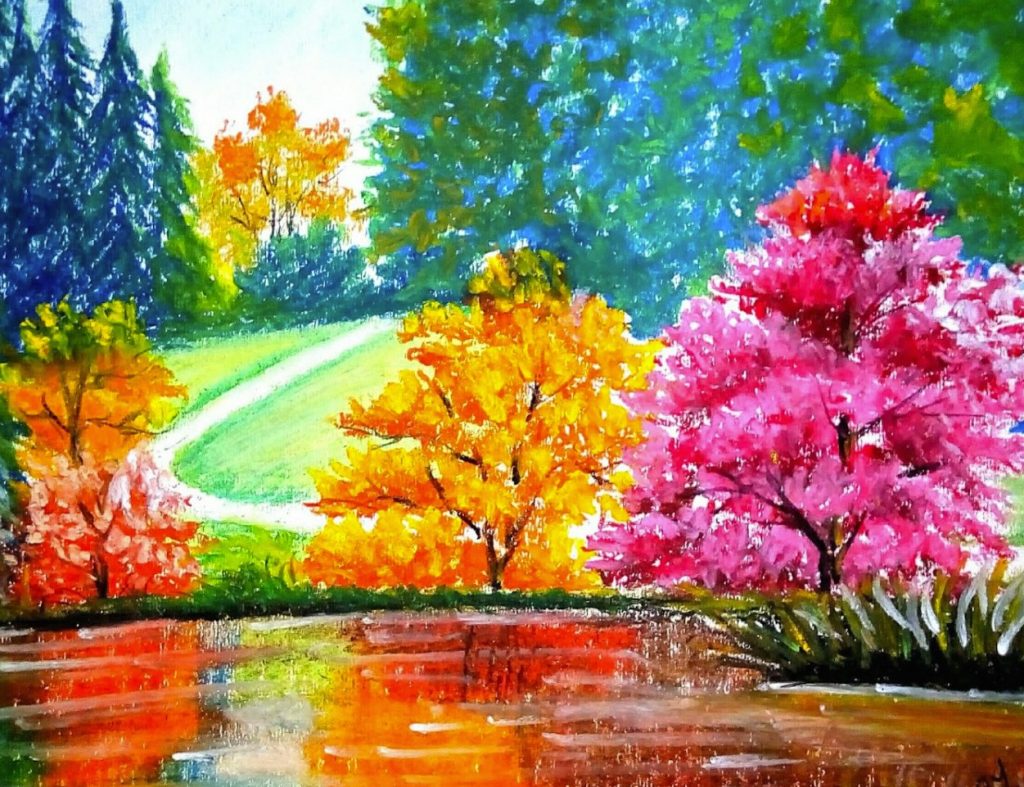
When beginning an oil pastel artwork, it is crucial to approach the medium with a light touch. Using a light touch allows you to build up colors gradually and smoothly, facilitating the creation of seamless transitions and subtle gradients. By layering the pastels, you can achieve greater depth and vibrancy in your final piece. Start by applying a light base coat to establish the initial color palette. As you progress, gradually add pressure and additional layers to further define details, enhance contrast, and create shadows. Layering in this manner allows you to develop rich and complex textures, as well as to build up the intensity and saturation of the colors. This gradual approach to layering not only provides a greater level of control and precision, but also allows for the development of nuanced and captivating visual effects within your oil pastel artwork, culminating in a piece that is rich in depth, color, and visual interest.
Explore Blending Techniques:
Oil pastels offer a variety of blending possibilities. For a smooth, seamless blend, use a blending stump or tool in a circular motion, gently pushing the color from one area to another. Experiment with lighter strokes for subtle transitions and firmer pressure for more dramatic blends. You can also create interesting effects by using a solvent, such as mineral spirits, on a separate tool to gently blend and soften the colors.

Part 3: Unconventional Techniques and Adding Details
Embrace Scratching and Scumbling:
Don’t be afraid to get creative! Use a pointed tool, like a toothpick or the blunt end of a paintbrush, to scratch through layers of oil pastel, revealing the colors underneath. This “scruffito” technique creates a textured effect and adds depth to your artwork. You can also use a stiff brush in a scumbling motion to create a textured overlay or soften harsh lines.
Highlighting with White and Detailing:
Once you’ve established your base colors and blends, use white oil pastel for highlights and details. The white pastel effectively adds pops of light and helps define shapes and textures. Sharpen your oil pastels with a pencil sharpener for finer details and sharper lines. This is particularly useful for drawing outlines, adding facial features in portraits, or creating intricate patterns.
Part 4: Preservation and Finishing Touches
Fix Your Artwork to Prevent Smudging:
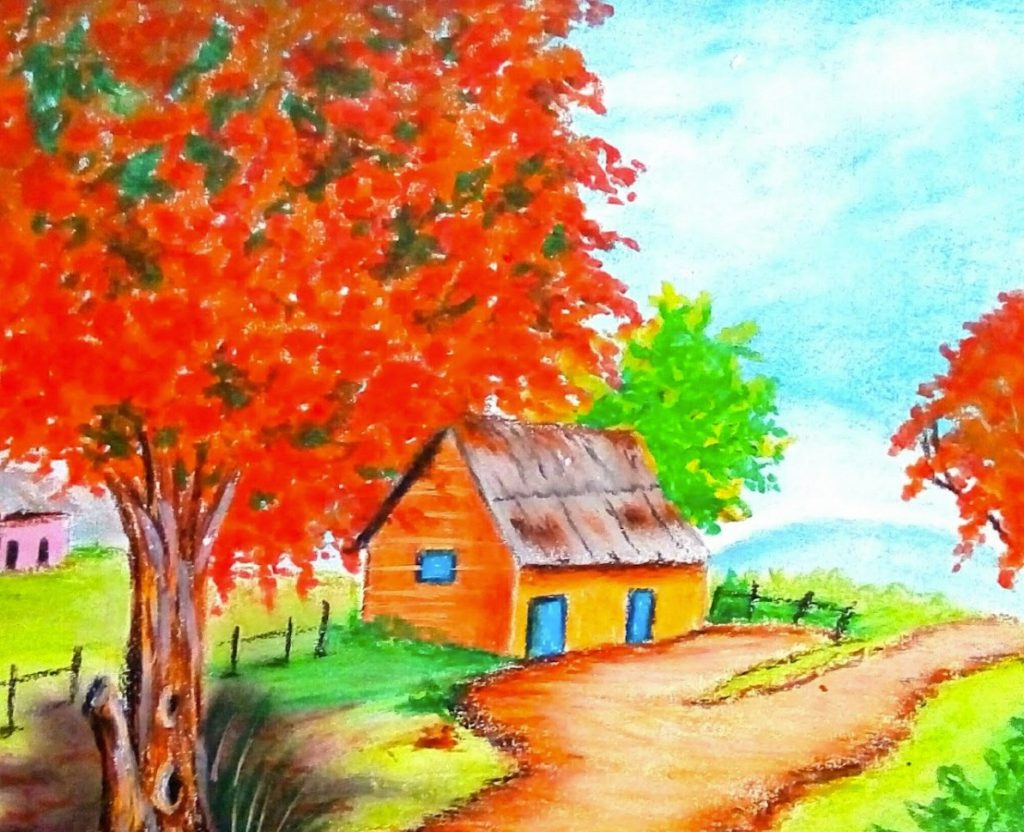
Oil pastels are prone to smudging, especially if not adequately fixed. After completing your artwork and achieving your desired results, it’s crucial to apply a fixative spray to safeguard your creation and prevent the colors from smearing or transferring. Selecting a workable fixative is essential as it allows for further layering if desired, giving you the flexibility to continue refining and enhancing your piece without any limitations. A fixative spray forms a protective barrier over the oil pastel, effectively securing the colors and preventing them from smudging. When applying the fixative, ensure that it is done in a well-ventilated area following the manufacturer’s instructions, utilizing light, even coats to preserve the integrity of your artwork. By employing a fixative spray, you can safeguard your oil pastel creation, ensuring that your vibrant and intricate colors remain intact, ultimately preserving the longevity and visual impact of your artistic endeavor.
Framing for Presentation and Protection:

Framing your oil pastel artwork not only enhances its visual appeal but also protects it from dust, moisture, and UV rays. Choose a frame that complements your artwork’s style and colors. Consider using a mat to create a visual separation between the artwork and the frame, adding another layer of sophistication.
By following these tips and tricks, you can unlock the full potential of oil pastels and create stunning, vibrant artworks. Remember, there are no hard and fast rules – experiment, explore different techniques, and have fun with the process! Let your creativity flow and enjoy the unique possibilities that oil pastels offer.
