Oil pastels offer a vibrant and forgiving art medium for beginners. Their smooth blending and rich texture allow for expressive artwork. This guide provides four step-by-step tutorials to jumpstart your oil pastel journey:
Part 1: A Bright and Bold Flower
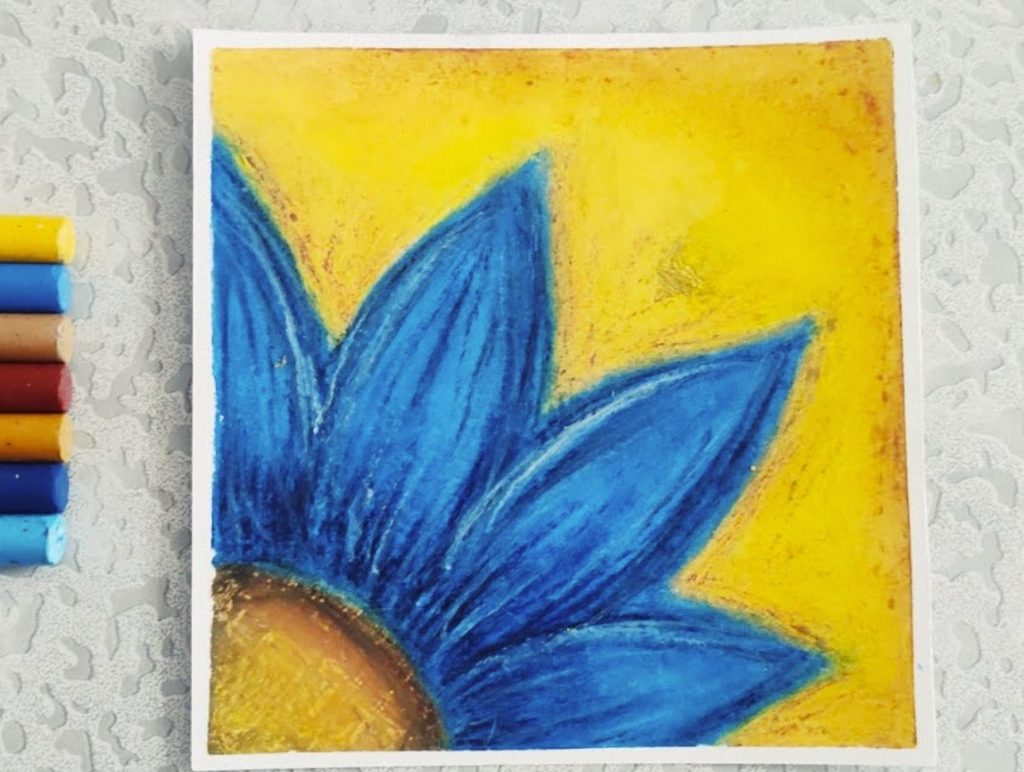
Blooming Color:
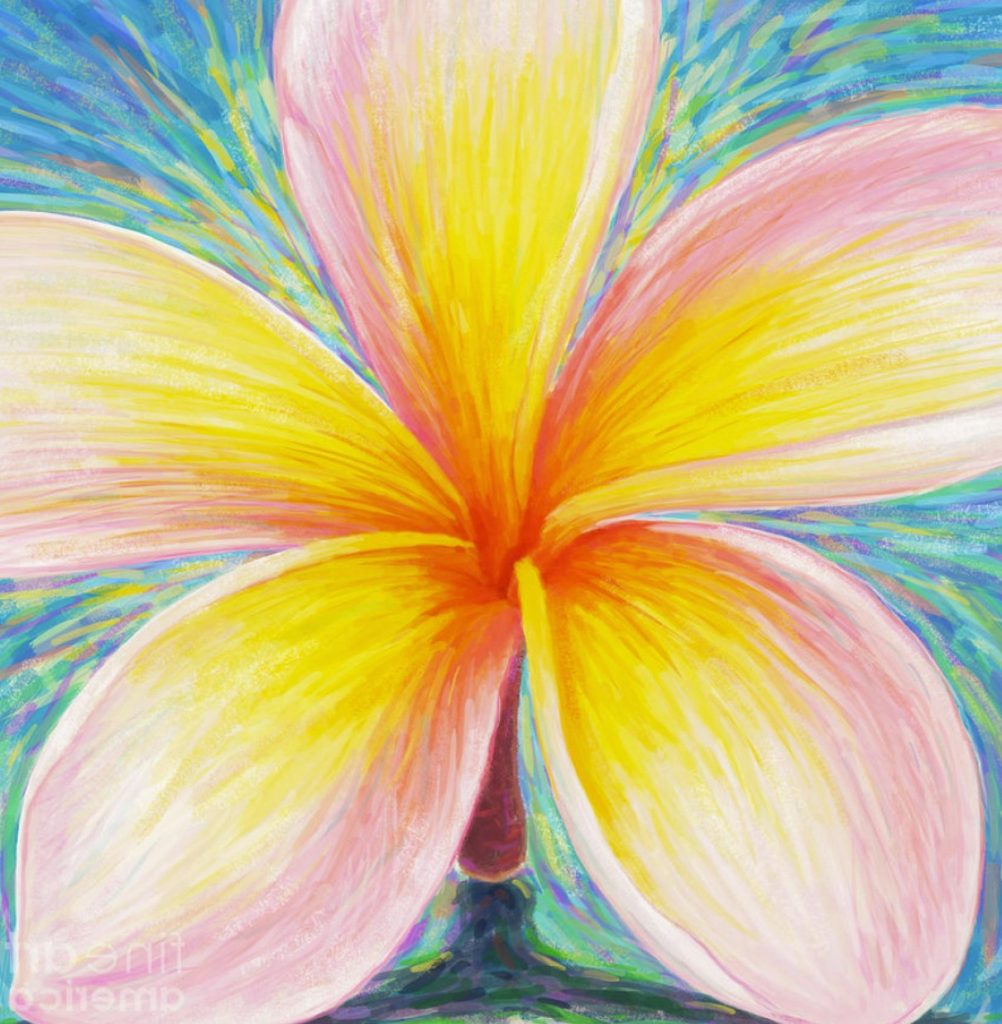
To create a radiant and vibrant floral illustration with oil pastels, start by sketching a simple flower shape using light pencil strokes. This initial sketch will serve as a guide for the placement and form of the flower within your artwork. Next, choose warm and lively colors such as sunny yellow, bright orange, and soft pink to fill the flower base. Apply the oil pastels with a gentle touch, allowing some of the white paper to remain visible in certain areas. This intentional use of negative space will imbue the flower with a radiant and vibrant effect, enhancing the overall visual appeal and evoking a sense of dynamism within the composition. By employing a delicate balance of color and white space, you can achieve a lively and captivating depiction of the flower, infusing the artwork with a fresh and joyful atmosphere.
Layering and Detailing:
After applying the warm base colors to the flower petals, it’s essential to softly blend them using a paper stump or tissue. Blending the colors will create a smooth transition between the hues and add a sense of harmony to the overall composition. Following this, you can layer darker shades of the same colors to introduce depth and dimension within the flower petals, creating a more realistic and visually appealing portrayal. By gradually layering the darker tones, you can create subtle gradients, highlights, and shadows that bring the flower to life. To further enhance the level of detail and realism in the artwork, consider adding intricate features such as the stamen. Using a thin line of brown or black oil pastel, carefully depict the stamen, infusing the flower with a sense of authenticity and delicacy.
Part 2: A Playful Butterfly
Shape and Color:
To begin, lightly sketch the delicate outline of a butterfly using gentle pencil strokes, capturing the elegant form and wing structure. This initial sketch provides a foundation for the placement and proportions of the butterfly within the composition. Once the outline is in place, divide the wings of the butterfly into sections, and delicately fill each section with a vibrant array of colors such as radiant blue, lush green, and regal purple. When applying the oil pastels, use a light touch to initially lay down the colors, allowing some of the white paper to show through. This approach provides a base for layering and blending, lending depth and nuance to the colors. By incorporating a range of vibrant hues while maintaining a light touch, the initial color application sets the stage for a visually captivating and vivid representation of the butterfly’s wings.
Details and Texture:
Once the base colors are down, use a paper stump or tissue to blend them gently. Layer darker shades of the same colors to create patterns and markings on the wings. Add details like eyes and antennae with a thin black or white oil pastel. To add texture, use the side of the pastel to create short strokes mimicking the butterfly’s body.
Part 3: A Serene Sunset

Fiery Sky:
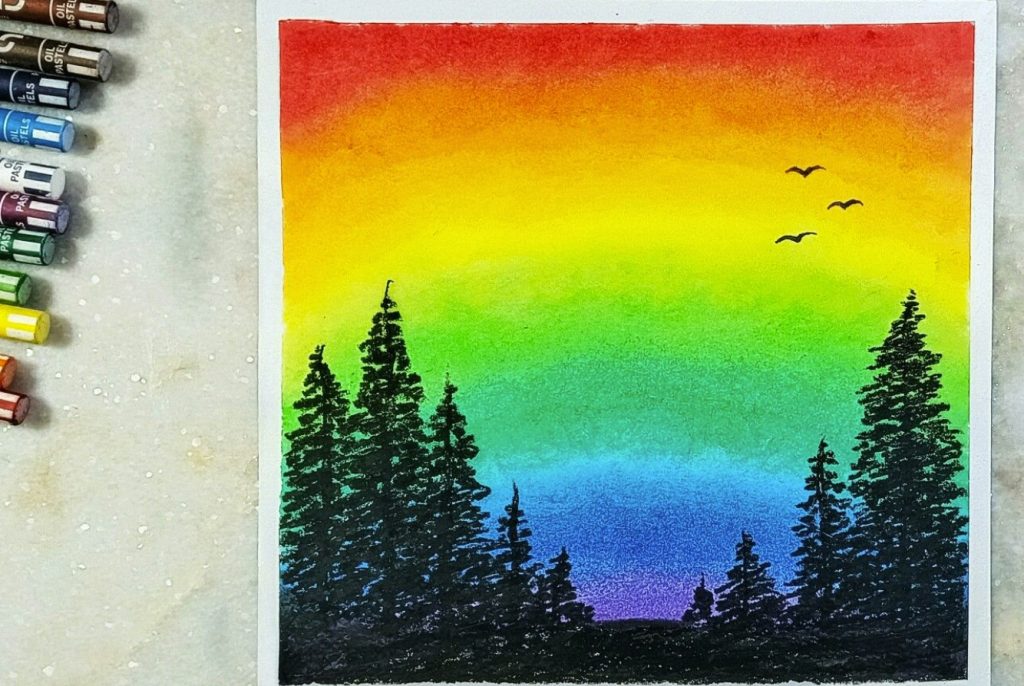
To create a breathtaking sunset using oil pastels, start by dividing your paper horizontally. With a light touch, begin filling the top half of the paper with warm colors. Use vibrant oranges, soft yellows, and delicate pinks to depict the striking hues of the sunset sky. Layer these warm tones gradually. This will allow you to build up the colors and achieve a harmonious transition. Utilize a gentle touch while applying the colors to the paper. Leave some areas blank to represent the subtle interplay of light and shadow in the sky. After applying the colors, blend them seamlessly. Use a paper stump or a tissue. Ensure a smooth and gradual transition between the different hues. This blending technique helps create a visually stunning and realistic portrayal. It captures the natural splendor of the warm, glowing sky at sunset. It captures this atmospheric phenomenon.
Silhouetted Landscape:
Start by gently sketching a simple silhouette of trees or mountains on the bottom half of your paper using a dark blue or black oil pastel. The key is to keep the sketch simple yet evocative, capturing the outline and essence of the landscape elements. As you sketch, focus on creating a strong and recognizable shape that will contrast beautifully with the warm colors of the sunset sky above. Once the basic silhouette is in place, you can begin layering darker shades of blue or black within the silhouette to add depth and create shadows, enhancing the dimension and realism of the landscape. By varying the pressure and incorporating different tones, you can achieve a sense of depth and texture, making the silhouette appear more lifelike and dynamic.

Part 4: A Whimsical Cat
Form and Color:
Begin by lightly sketching the basic shape of a cat with gentle pencil strokes, capturing the outline and form of the feline figure. This initial sketch will provide a guide for the placement and proportions of the cat within the composition. Next, with a delicate touch, fill the cat’s body with a warm color such as brown or grey, using the oil pastel to gradually build up the color and achieve a soft and subtle effect. Leaving white space in strategic areas, particularly where light would naturally hit, will create the impression of texture and depth in the cat’s fur. This technique adds dimension and visual interest to the artwork, enhancing the realism of the depiction. By incorporating a nuanced balance of color and negative space, you can evoke a sense of tactile warmth and life within the cat’s form, imbuing the artwork with a captivating and lifelike quality.
Details and Expression:
Use a black or white oil pastel to define the cat’s facial features like eyes, nose, and mouth. Layer darker shades of the base color to create shadows and fur texture. Add details like whiskers with short, thin strokes of white pastel.
These are just a few ideas to get you started. With these simple tutorials and the oil pastel techniques you’ve learned, you can create countless beautiful and unique artworks. Remember, practice makes perfect, so have fun experimenting and unleashing your creativity!
