Oil pastels are a vibrant and forgiving art medium, perfect for beginners who want to explore their creativity. Unlike crayons, they offer a richer blendability and a unique texture that can create stunning artwork. If you’re new to oil pastels, here are four easy techniques to get you started and transform your blank page into a masterpiece.
Part 1: Layering and Blending

Light and Heavy:
Oil pastels respond beautifully to pressure. Use the broad side of the pastel for light, textured washes of color, ideal for backgrounds or filling large areas. Apply gentle pressure for a soft, hazy effect. Conversely, use the pointed tip for a more defined application, perfect for details or outlining shapes. Pressing harder creates a bolder, more saturated color. Experiment with both light and heavy applications to create depth and variation in your artwork.
Blending Magic:
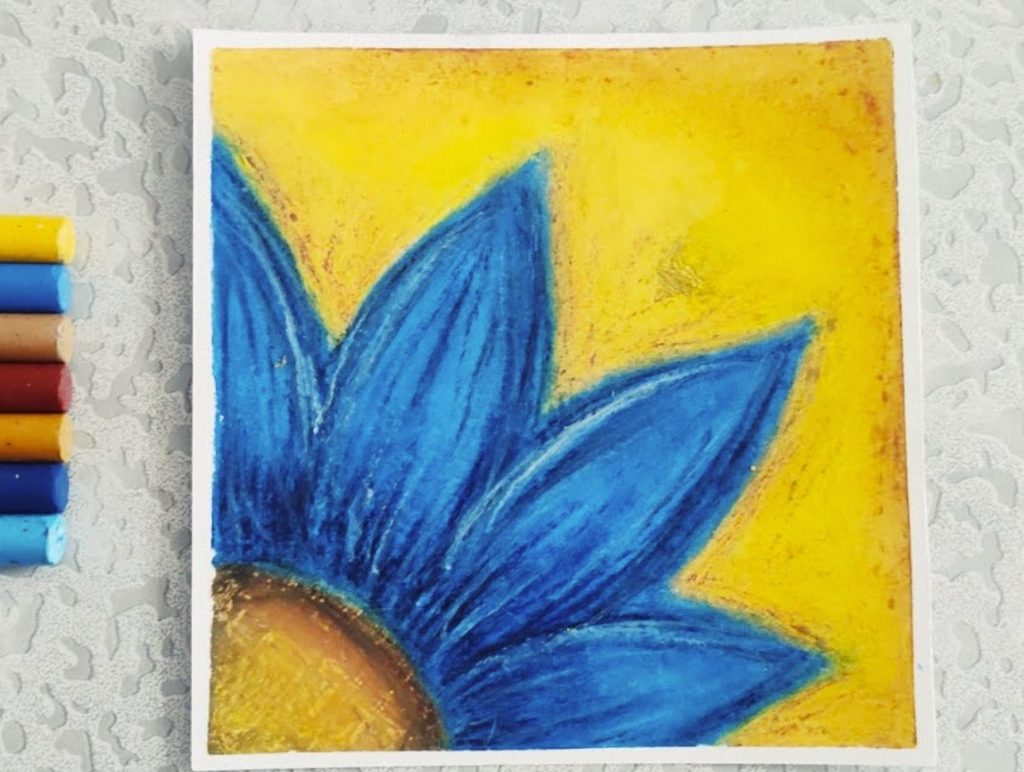
One of the joys of oil pastels is their seamless blending. There are several ways to achieve this. You can directly blend colors on the paper by overlapping strokes. This is particularly effective for creating smooth gradients or transitioning between colors. Alternatively, use your fingers or a blending tool like a tortillon (a paper stump) to gently smudge the colors together. This creates a softer, dreamier effect.
Part 2: Linework and Details
Drawing vs. Resist:
Oil pastels can be used for both drawing lines and creating resist techniques. To draw lines, use the pointed tip with a light touch. This is ideal for outlining shapes, sketching details, or adding features to your artwork.
For the resist technique, first apply a light base color with a white or light-colored oil pastel. Then, draw your design on top with a darker color. Use a tool like a toothpick or the blunt end of a paintbrush to gently scratch away the top layer, revealing the lighter color underneath. This creates a textured, outlined effect, perfect for creating patterns, fur, or textured surfaces.
Highlights and Accents:
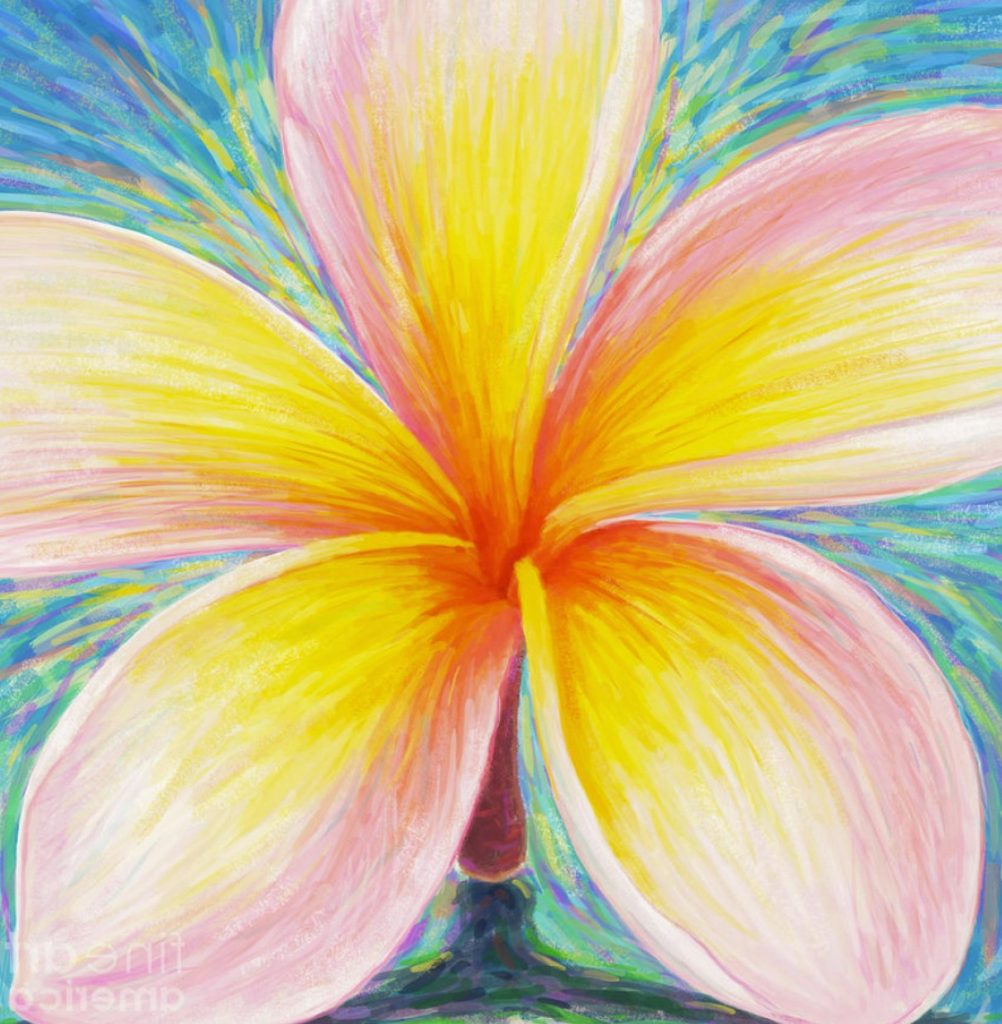
Once you’ve laid down your base colors, it’s time to add details and bring your artwork to life. Use a white or light-colored oil pastel to create highlights on your subject. This adds dimension and makes it appear more realistic.
For accents and details, use the pointed tip of a contrasting color. This could be for facial features on a portrait, adding details to flowers, or outlining patterns. Be mindful of pressure; a light touch ensures crisp details without overwhelming your artwork.
Part 3: Creative Techniques
Scumbling:
Scumbling, a versatile technique in the realm of visual art, can significantly enhance the texture and depth of your artwork. To execute it, lightly apply short, broken strokes of color in a crisscross pattern, creating a layered and textured effect. This method can be employed using a single color or a combination of colors that complement each other, allowing for a diverse array of creative possibilities. Whether you’re seeking to craft textured backgrounds, delineate shadows, or infuse your piece with a sense of movement, scumbling offers an effective and nuanced approach. The deliberate use of this technique can lend a captivating intricacy to your artwork, enriching it with visual interest and depth. As such, mastering the art of scumbling not only expands your technical repertoire but also affords you the means to imbue your creations with added dimension, texture, and visual allure.

Solvent Blending:
Although not essential for beginners, utilizing a solvent such as mineral spirits with oil pastels can yield unique and captivating effects. To employ this technique, begin by applying a light layer of color with your oil pastels. Subsequently, dip a small brush into the solvent and gently dab it onto the oil pastel. This process results in a blended, softer effect reminiscent of watercolors, imparting a distinctive visual quality to your artwork. It is crucial, however, to exercise caution when using solvents, ensuring that you work in a well-ventilated area to minimize exposure to fumes. Additionally, it’s important to avoid excessive use of solvent, as it has the potential to break down the paper. By judiciously incorporating this technique into your artistic practice, you can harness the transformative potential of solvents to create enchanting, watercolor-like effects with your oil pastels, adding an extra layer of versatility and expressiveness to your artwork.
Part 4: Tips and Tricks
Paper Matters:
When working with oil pastels, selecting the appropriate paper is crucial for the success of your artwork. It is advisable to opt for heavyweight, textured paper that is specifically designed for use with oil pastels. This type of paper prevents the oil from bleeding through, providing a stable and durable surface for your artwork. Additionally, the textured surface of the paper allows the oil pastels to adhere effectively, enabling you to layer colors without encountering issues such as smudging or smearing. The right paper not only enhances the vibrancy and richness of the colors but also ensures that the finished piece retains its integrity and longevity. By investing in high-quality paper suited for oil pastel work, you can elevate the overall quality of your artwork and unleash the full creative potential of this versatile medium.
Fix Your Work:
Oil pastels have a tendency to smudge easily, which can compromise the integrity of your finished artwork. To safeguard your creation from smudging or fading over time, it’s essential to take preventive measures. Once your artwork is complete, apply a fixative spray lightly over the surface of the oil pastel drawing. This protective coating serves to set the colors in place, creating a barrier that prevents smudging and preserves the vibrancy of the hues. The fixative spray acts as a shield, effectively sealing the oil pastels and safeguarding your artwork from the effects of handling, moisture, and environmental factors. By incorporating this simple step into your artistic process, you can ensure that your oil pastel creations maintain their original beauty and integrity for years to come. Taking this proactive approach to preserving your artwork helps to extend its lifespan, allowing you to proudly showcase your oil pastel pieces without worrying about potential smudging or fading.
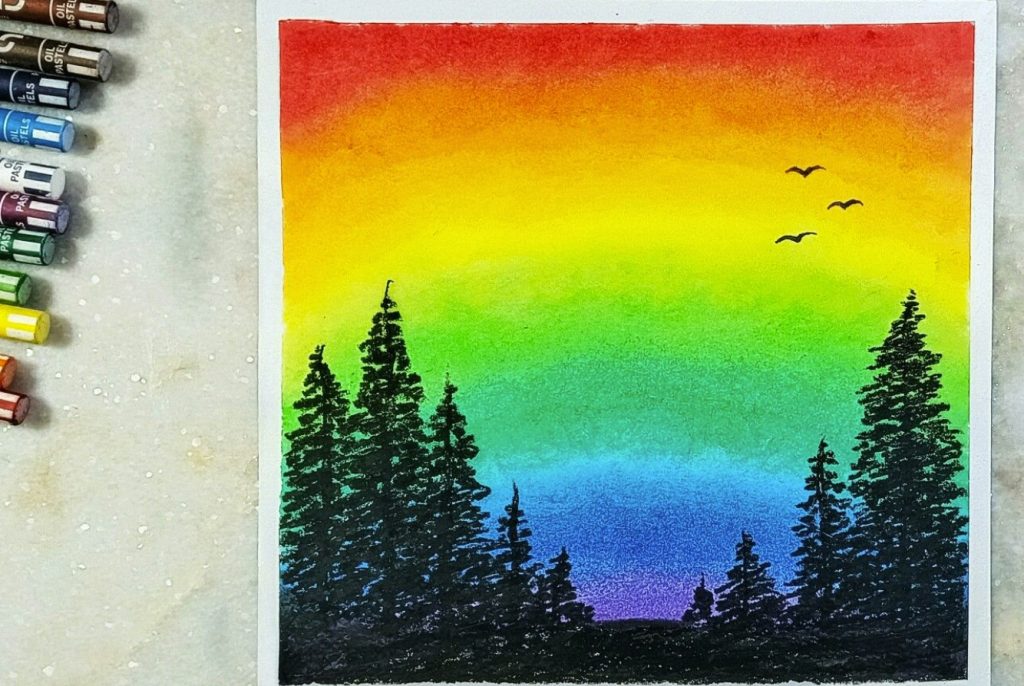
With these easy techniques and a little practice, you’ll be well on your way to creating stunning oil pastel artwork. Remember, the most important thing is to have fun and experiment! Don’t be afraid to make mistakes – the beauty of oil pastels is that you can easily blend or layer over them to achieve the desired effect. So, grab your oil pastels, unleash your creativity, and get ready to be amazed by the vibrant world you can create!


