Oil pastels, with their vibrant colors and smooth texture, are an artist’s dream for creating captivating artwork. However, the true magic lies in their ability to blend seamlessly, creating breathtaking color transitions. This guide explores four key techniques to unlock this potential and transform your oil pastels into tools for creating stunning visual effects.
Part 1: Layering for Depth and Control
Reversed Approach: Building from Dark to Light
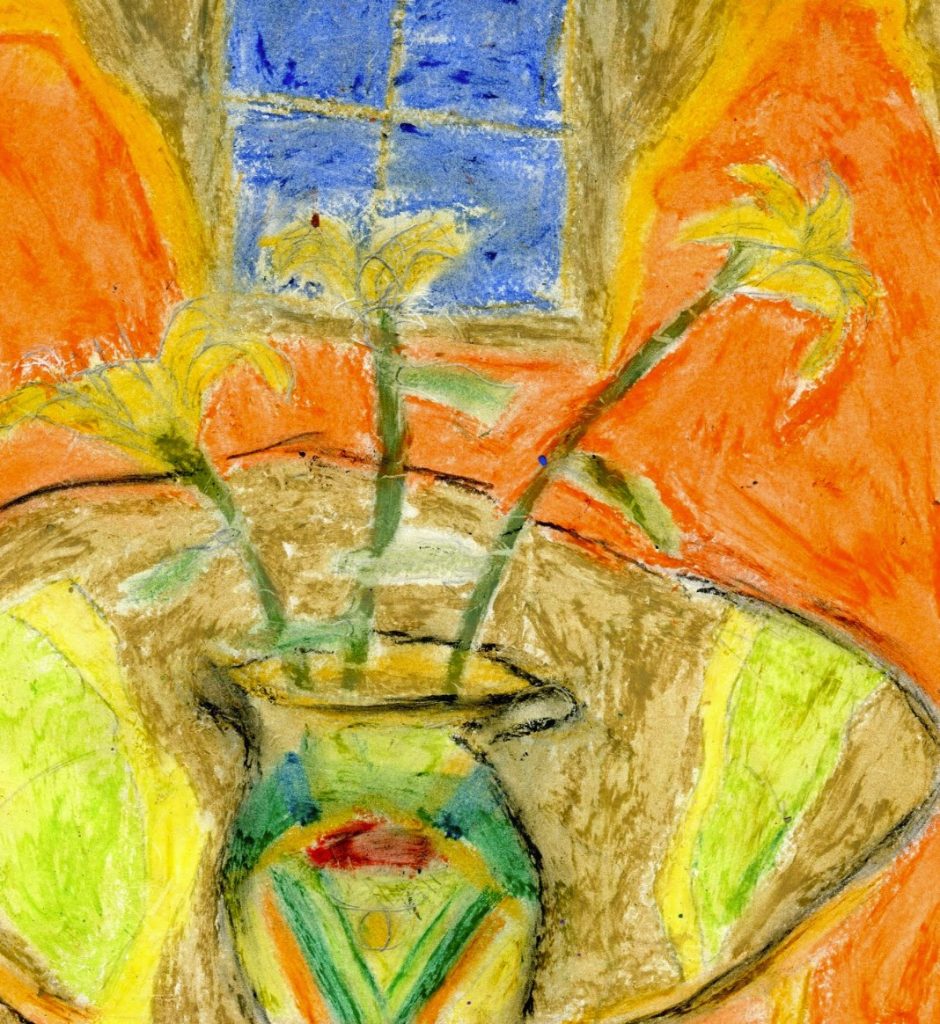
In contrast to the conventional approach in traditional drawing, where light colors typically serve as the base, oil pastels offer a unique method. When working with oil pastels, it is often recommended to start by laying down the darkest colors first. This approach establishes a rich and intense foundation that adds depth and dimension to your artwork. By applying darker colors as the initial layer, they peek through subsequent layers, enhancing the overall vibrancy of the composition. As you add lighter colors on top of the dark base, they naturally blend with the underlying layers, creating seamless and organic gradations. This technique allows for the creation of visually captivating transitions and harmonious color blends within your oil pastel artwork. Embracing this reverse approach with oil pastels offers artists the opportunity to explore and develop a distinctive and expressive style, as well as to achieve captivating visual effects with depth and intensity.
Mastering the Layer Dance: Balancing Intensity
The number of layers applied in oil pastel artwork is pivotal in determining the desired intensity and visual effect. Commence by laying down a thin initial layer of your darkest color. As you gradually add lighter colors on top, the blend softens, resulting in a seamless transition between hues and creating a smooth and gradual gradient. Experimenting with the layering process allows you to manipulate the overall richness and depth of the tones in your artwork. By incorporating additional layers, you can achieve a more vibrant and saturated color palette, adding richness and complexity. Conversely, opting for fewer layers can produce a more delicate and ethereal feel, especially suitable for creating softer and more subtle tonal variations. The layering technique presents an opportunity for artists to exercise creative control and exploration, enabling them to fine-tune the visual impact of their oil pastel artwork and achieve the desired depth, intensity, and atmosphere in their compositions.
Part 2: The Art of Blending: Tools and Techniques
The Natural Touch: Finger Blending for Soft Transitions
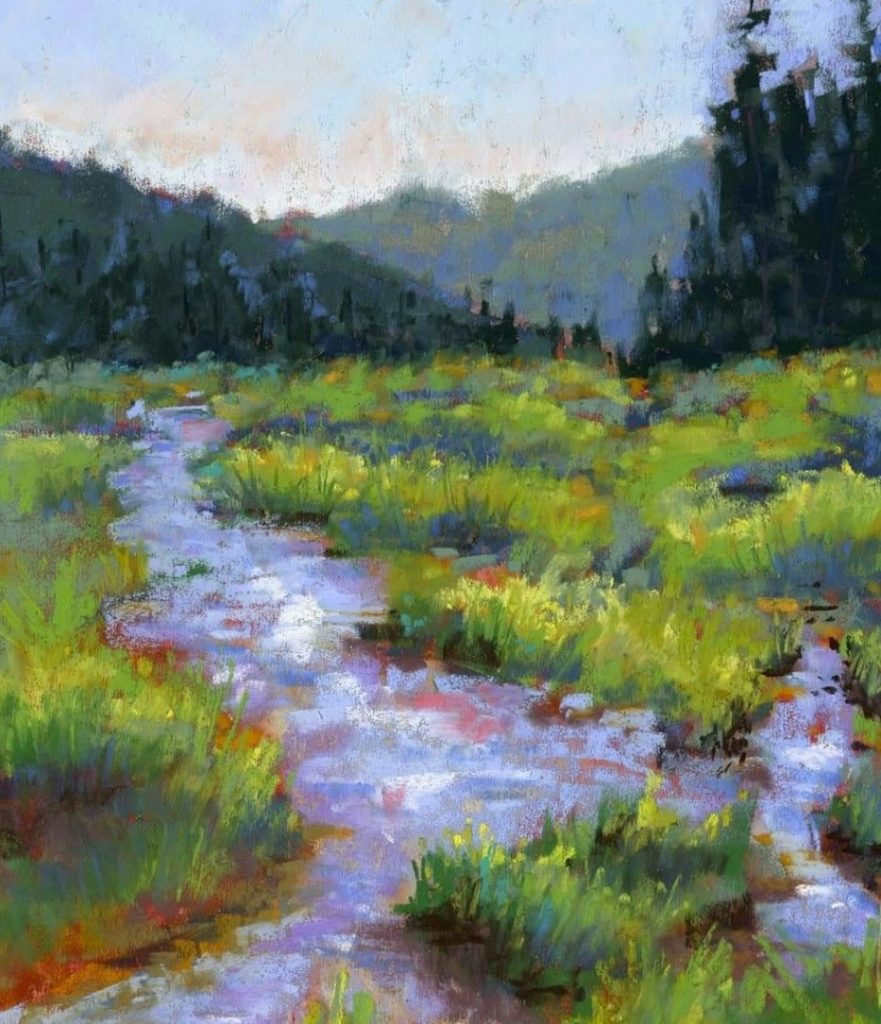
Finger blending is a simple and accessible technique for blending oil pastels. The natural oils present in our fingertips aid in softening and spreading the pastel color, making it easier to achieve a smooth transition between adjacent colors. This method is especially well-suited for beginners and artists looking to create soft, dreamlike effects in their artwork. By using the fingers to blend oil pastels, artists can achieve seamless transitions and gradients, effectively merging different hues and tones to create a harmonious and visually appealing composition. This approach allows for a tactile and hands-on experience, providing a direct connection between the artist and the medium. As such, finger blending is not only a practical way to blend oil pastels but also a method that encourages experimentation, artistic expression, and the development of a unique personal style. Embracing this technique can lead to the creation of captivating and evocative oil pastel artworks with a distinct, soft, and blended aesthetic.
Expanding Your Toolkit: Blending Stumps and Tortillions
For a cleaner and more controlled blend, consider using blending stumps and tortillions. These paper or fabric tools offer greater precision than fingers. Stumps, with their pointed tip, are ideal for blending in tight spaces, while tortillions, with their broader tip, excel at blending larger areas. Use a light touch and circular motions for a seamless transition. These tools also help to lift excess pastel, creating a polished look.

Part 3: Solvent Blending: Unveiling New Possibilities (Optional)
Unlocking Liquid Magic: Solvent Blending for Dramatic Effects
Incorporating a solvent, like odorless mineral spirits, into your oil pastel blending technique introduces a new dimension and versatility to your artwork. By applying a small amount of solvent with a cotton swab or paintbrush, you can significantly soften and blend the pastels. This achieves a result that mimics traditional painting techniques. This approach allows for the creation of highly detailed blends and washes of color. It expands the possibilities for expressive and nuanced effects in your art. Utilizing a solvent not only facilitates seamless blending but also offers the opportunity to achieve intricate and precise details within your compositions. This enhances the overall visual impact of your artwork. Embracing this technique opens up a range of creative possibilities. It enables artists to experiment with diverse textures, transitions, and styles, adding depth and complexity to their oil pastel creations. Incorporating a solvent into your blending process empowers artists to achieve a painterly effect. It also allows them to explore new avenues of artistic expression and creativity.
Safety First: Responsible Use of Solvents
Working with solvents requires caution. Always use them in a well-ventilated area and wear a mask to avoid harmful fumes. Test the solvent on a scrap piece of paper first to ensure compatibility with your pastels and paper. Start with a minimal amount of solvent and gradually add more as needed. Remember, removing excess solvent is difficult, so moderation is key.

Part 4: Experimentation and Practice: The Path to Mastery
Embrace the Journey: Exploring Different Blending Methods
Don’t be afraid to experiment! Combine various blending methods to achieve unique effects. Try layering with finger blending, or use a solvent to soften a heavily blended area. Explore different color combinations and observe how they interact when blended. The more you experiment, the more comfortable and creative you’ll become with oil pastels.
Practice Makes Progress: Refining Your Skills
As with any art form, mastering oil pastel blending takes dedication. Set aside time to create small studies or practice sheets specifically focused on blending techniques. The more you practice, the better you’ll understand how the pastels react under different pressures and blending methods. Embrace the learning process and enjoy the journey of discovering the true potential of oil pastels.
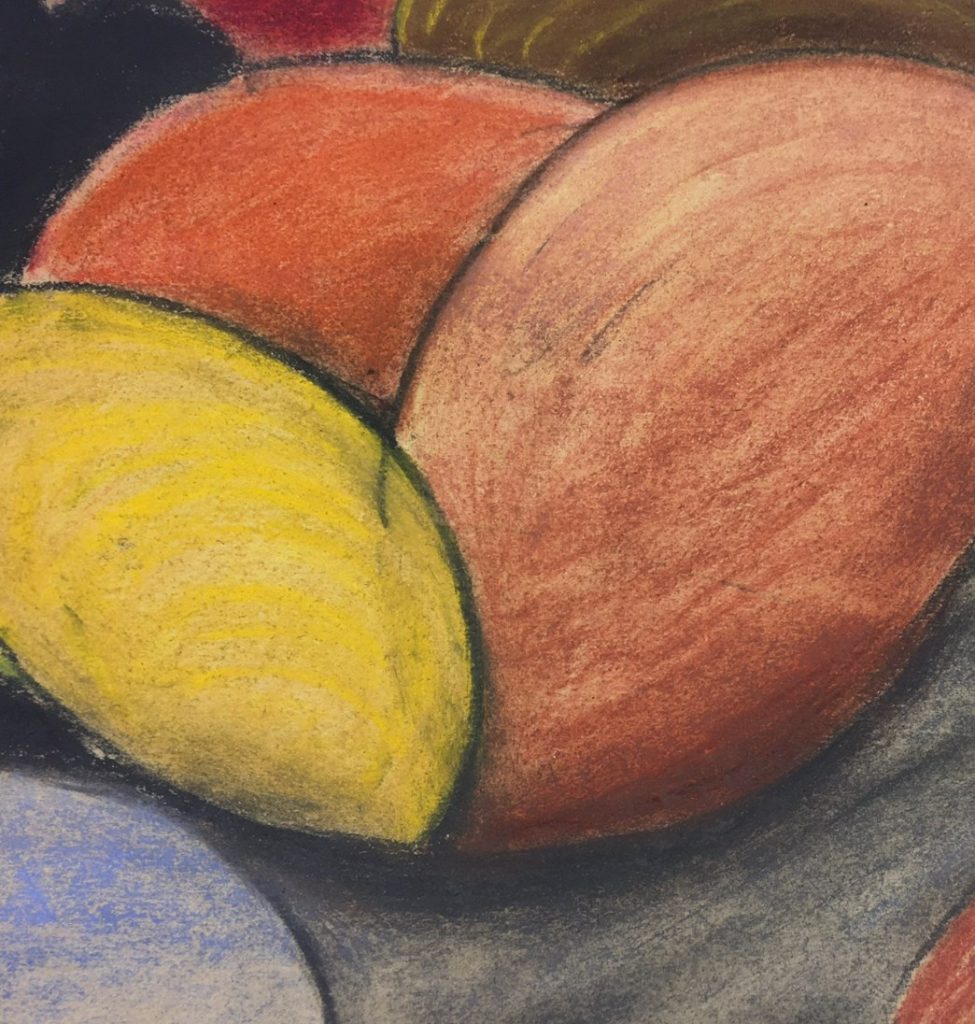
By incorporating these techniques and fostering a spirit of exploration, you’ll unlock the power of oil pastel blending. Achieve seamless color transitions, from subtle gradients to dramatic flourishes, and watch your artwork come alive with a captivating spectrum of color and depth. So, grab your oil pastels, unleash your creativity, and paint the rainbow!


