The allure of a landscape – the majesty of mountains, the tranquility of a lake, or the vibrant dance of wildflowers in a meadow – can be captured in all its glory with oil pastels. These vibrantly colored sticks offer a unique blend of control and creative freedom, perfect for translating the emotions a landscape evokes onto your canvas. Let’s delve into the world of oil pastel landscape drawing, exploring techniques to bring nature’s beauty to life.
Part 1: Capturing the Essence
Finding Inspiration:

Nature’s bounty provides endless inspiration for landscape drawings. Take a hike in the mountains, visit a local park, or simply observe the world from your window. Notice the play of light and shadow, the movement of clouds across the sky, and the textures of different elements. Capture these details in quick sketches or photographs to serve as a reference for your artwork.
Choosing Your Palette:
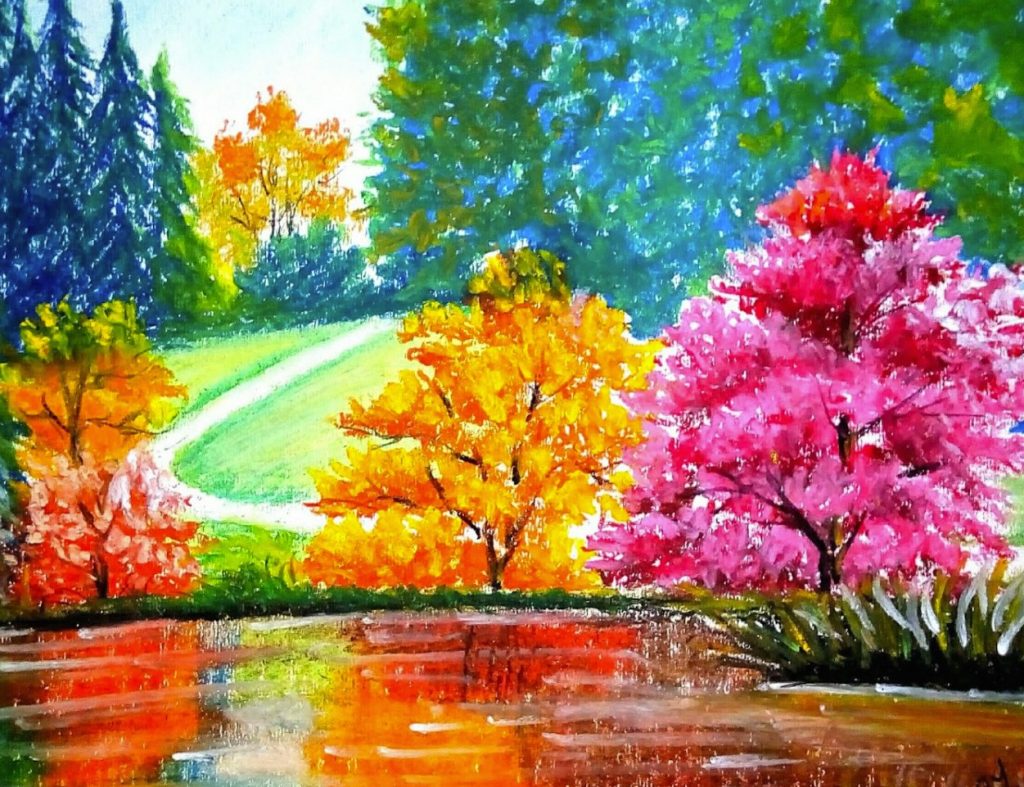
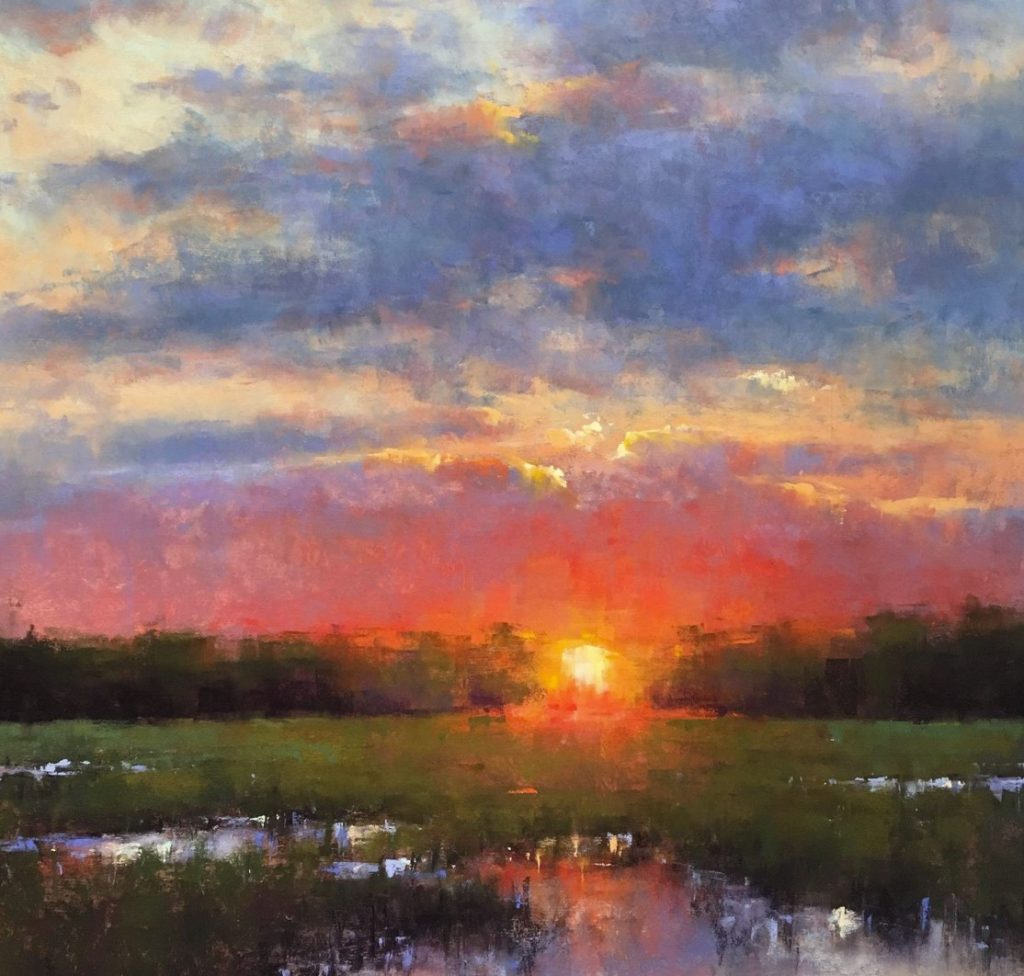
Select a range of oil pastels that reflects the mood of the landscape you wish to create. A sunrise might call for warm yellows, oranges, and pinks, while a forest scene might benefit from a cooler palette of greens and blues. Don’t be afraid to experiment with unexpected color combinations to evoke a certain feeling or mood.
Part 2: Building the Foundation
Preparing Your Canvas:
Oil pastels work best on textured surfaces that can hold the color. Opt for sanded pastel paper or even canvas textured paper for added tooth. Selecting a larger paper size allows for more expansive landscapes and bolder strokes.

Blocking In the Composition:
Before diving into color, establish the basic structure of your landscape with light pencil strokes. Lightly block in the major elements like mountains, trees, a winding river, or a vast horizon line. Consider using a ruler for straight lines like a distant road or a calm lake’s surface.
Part 3: Layering Color and Creating Depth
Background Magic:
To start, focus on establishing the background elements of your landscape. Utilize broad, sweeping strokes of color to depict the sky, distant mountains, or rolling hills, setting the stage for the entire scene. Layering different colors allows you to create a sense of depth and atmosphere within these background elements, providing a captivating backdrop for the rest of your composition. Additionally, be mindful of integrating subtle touches of light by allowing some of the paper to peek through, lending a delicate luminosity to the overall scene. By deftly incorporating these techniques, you can create a background that not only sets the stage for your landscape but also adds depth and visual interest. Carefully attending to these foundational background elements will ultimately enrich the overall impact and realism of your oil pastel landscape drawing, bringing the setting to life with depth and atmospheric allure.
Blending for a Seamless Look:

Oil pastels are known for their exceptional blending capabilities. Utilize a blending tool such as a tortillon or even your finger to delicately soften the harsh edges between colors. By doing so, you can seamlessly meld different hues, creating a smooth and natural transition between foreground and background elements in your landscape. This technique not only imparts a sense of harmony and continuity to your artwork but also enhances the overall realism of your composition. Blending also allows you to achieve subtle gradients and seamlessly integrate various elements within your landscape, producing a cohesive and visually engaging depiction of the scene. By taking advantage of the blending properties of oil pastels, you can elevate the quality of your landscape drawing, infusing it with a captivating sense of depth and realism, and creating a smooth and seamless integration between different elements of your artwork.
Part 4: Bringing the Landscape to Life
Adding Details and Texture:
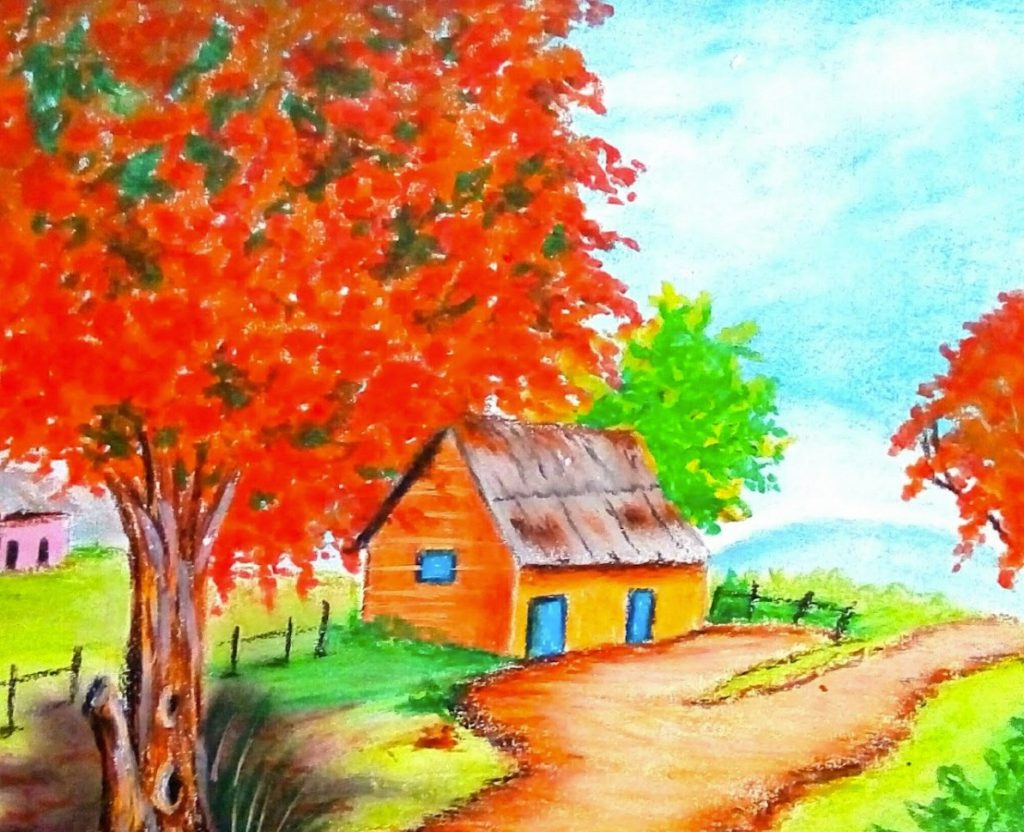
After setting up the background of your landscape, the next step is to focus on the midground and foreground elements. This is where you introduce finer details such as trees, flowers, winding paths, or any other prominent features within your scene. When sketching these elements, consider using a sharper edge on your pastels to create more defined shapes and textures, adding depth and intricacy to your composition. Additionally, layering and blending colors becomes crucial at this stage, as it allows you to skillfully depict shadows and textures, lending a sense of volume and realism to your artwork. By deftly incorporating these techniques, you can bring a captivating depth and richness to the midground and foreground of your oil pastel landscape, creating a visually appealing and immersive depiction of the natural world that draws the viewer into its intricate details and captivating beauty.

Highlights and Shadows for Dimensionality:
Enhance the realism of your landscape by skillfully incorporating highlights and shadows. Utilize white or light pastels to emphasize the highlights on mountain peaks or areas of foliage touched by sunlight. This infuses these elements with a sense of luminosity and depth. Employ darker tones of pastels to deftly depict shadows in valleys, beneath trees, or along the base of various objects. This adds contrast and dimension to your composition. Harmoniously integrate these light and dark elements into your artwork. This creates a striking interplay of light and shadow, bringing a captivating sense of realism to your oil pastel landscape. Mastering the art of portraying highlights and shadows will enhance the overall visual impact of your artwork. It imbues it with depth, texture, and a compelling sense of natural luminosity.
Beyond the Basics: Exploring Techniques
Scumbling: Apply short, broken strokes of color to create a textured effect. This technique can be used to depict grass, rocks, or the ripple of water.
Stippling: Use tiny dots of color to build up color and create texture. This technique can be used for creating a soft, hazy effect in the distance.
Lifting: Use a kneaded eraser to remove unwanted color or soften harsh lines. This allows for corrections and creating a more diffused effect.

With practice and exploration, oil pastels become an extension of your artistic vision. Let loose, embrace the vibrant colors, and capture the essence of nature’s beauty on your canvas. Remember, there are no mistakes in art, only happy accidents waiting to be discovered. So, venture outdoors, find inspiration, and let your oil pastels be your guide to translating the magic of landscapes into captivating works of art.


